|
Hey now I am back to my usual posting. Today for the weekly Wednesday writing I am giving some inspiring quotes about art and life. I hope that this adds some inspiration to your week. All of these photos are mine and the quotes I have put who made them or they are anonymous and it didn't say who it was by.  1. Logic will get you from point a to point b. Creativity will get you everywhere. -Einstein  2. "If I could say it in words there would be no reason to paint." -Edward Hopper  3. A true artist is both one who is inspired, but one who inspires others. -Salvador Dali  4. Everything you can imagine is real. -Pablo Picasso  5. If you can hear a voice within you say, 'you cannot paint.' then by all means PAINT, and that voice will be silenced. -Vincent Van Gogh  6. Life's a journey not a race.✨  7. You are beautiful just the way you are.🌹 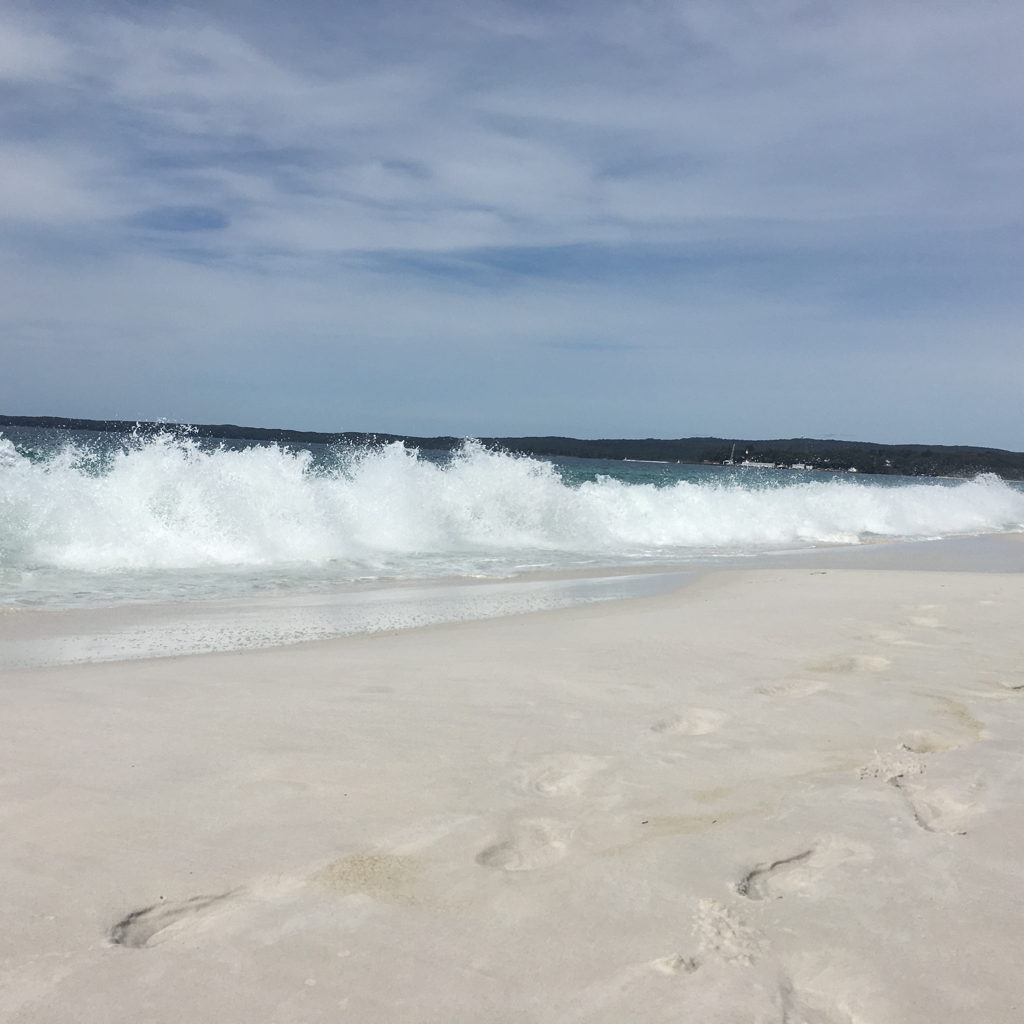 8. You can't stop the waves, but you can learn to surf. -Jon Kabat-Zan 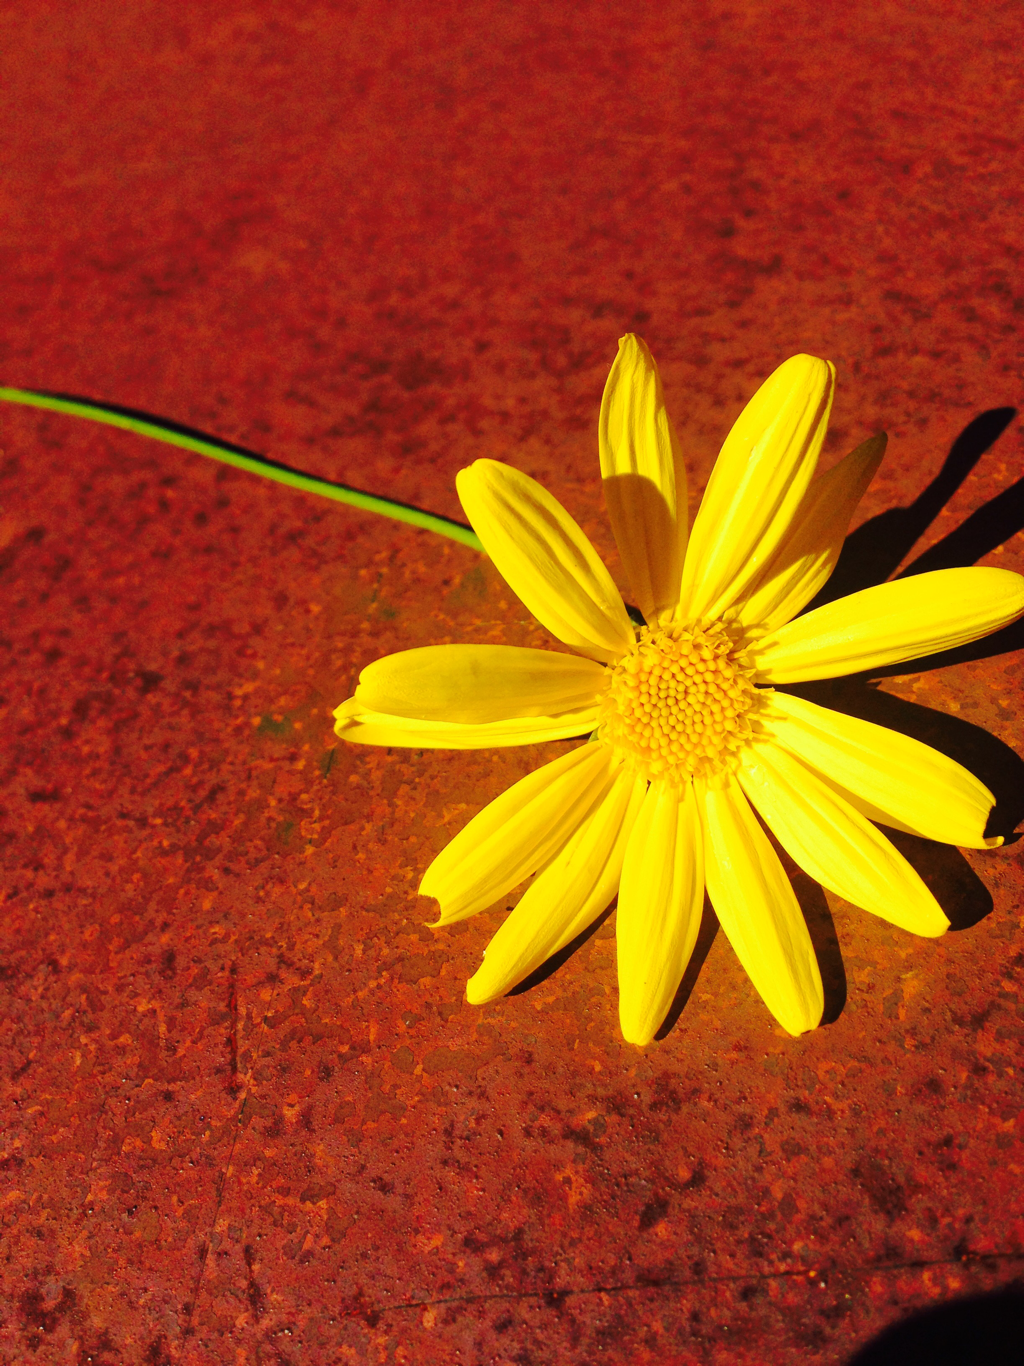 9. Happiness blooms from within.🌸 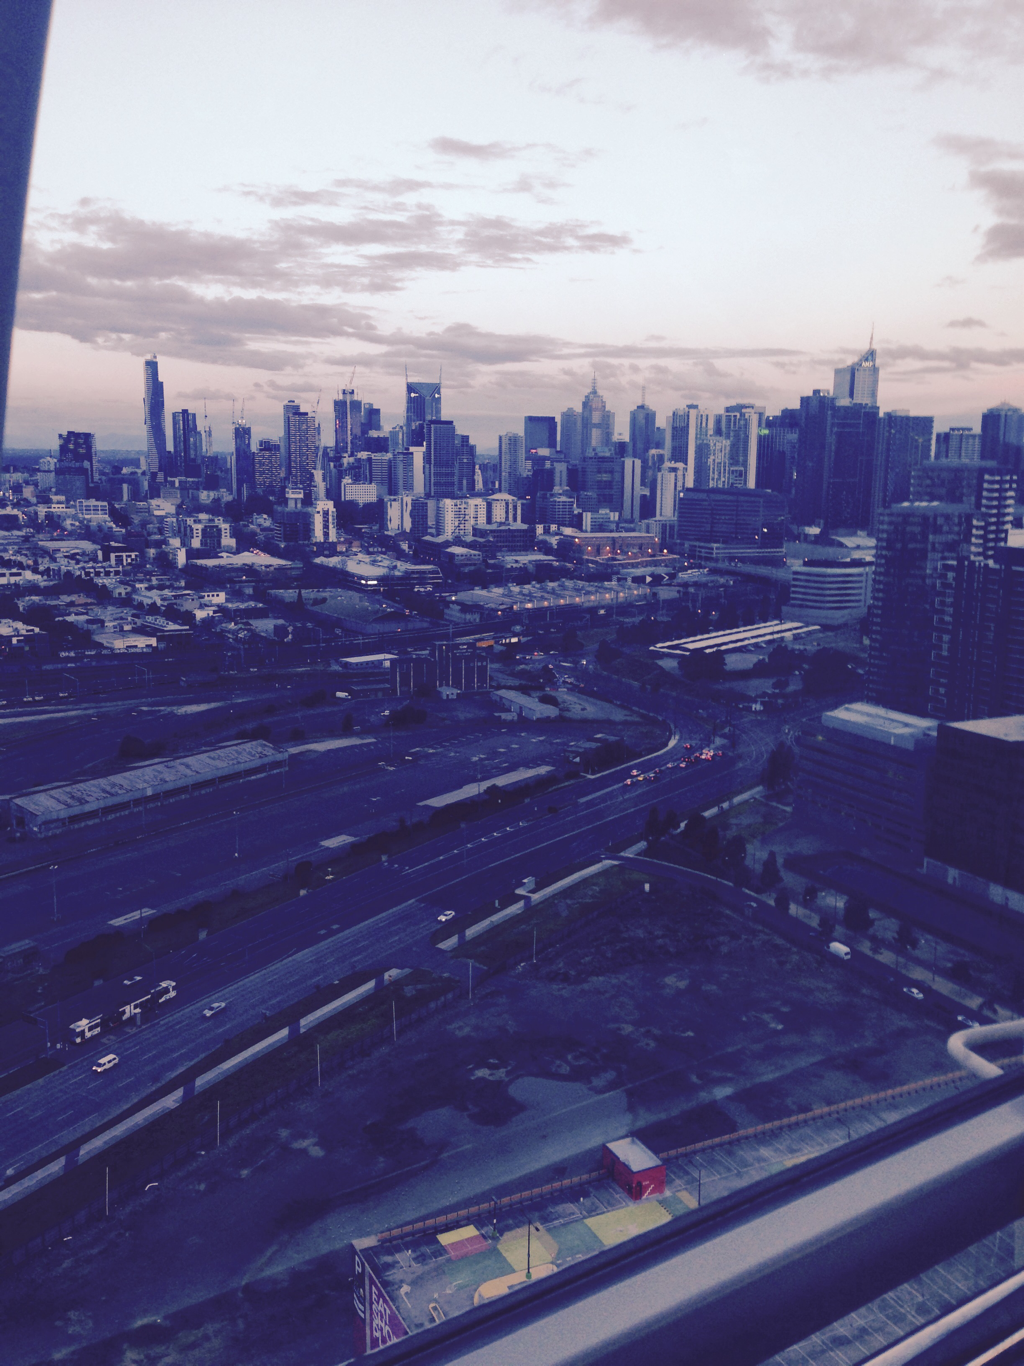 10. Wherever you go, go with all your heart.💘
0 Comments
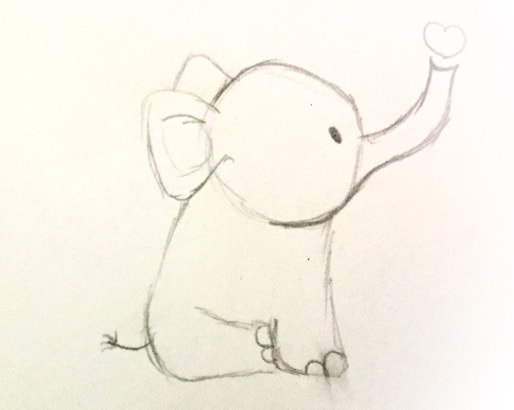 This is the last post about the happiness challenge of a 2 week drawing and posting challenge. Then I will be back to normal posts. 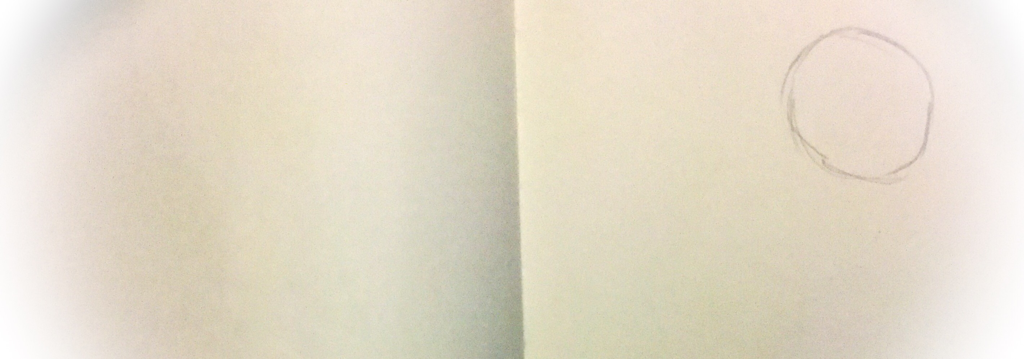 1. Draw a circle the seize you want their head to be. 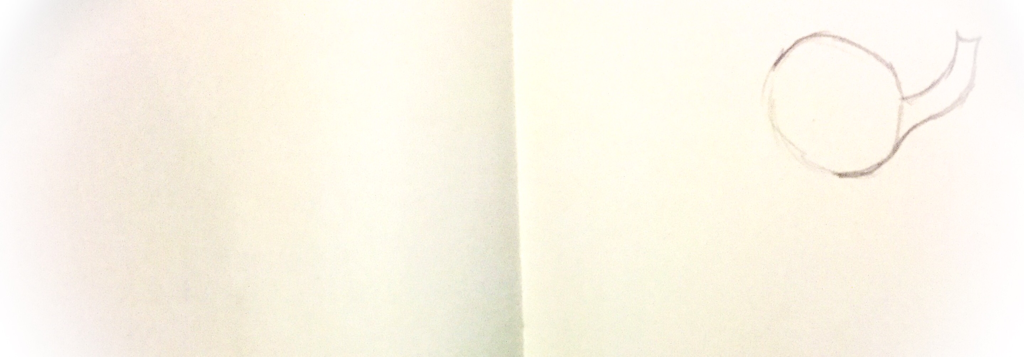 2. Now draw a trunk. A wonky sort of thin lines. 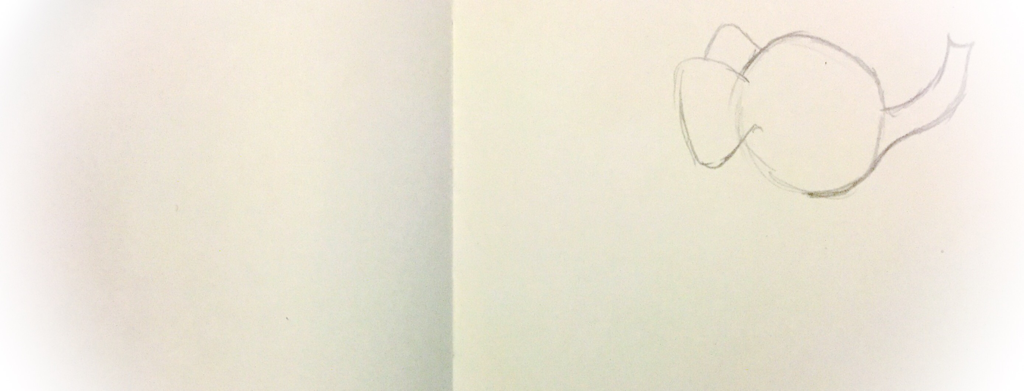 3. Draw big ears, sort of like rounded triangles. 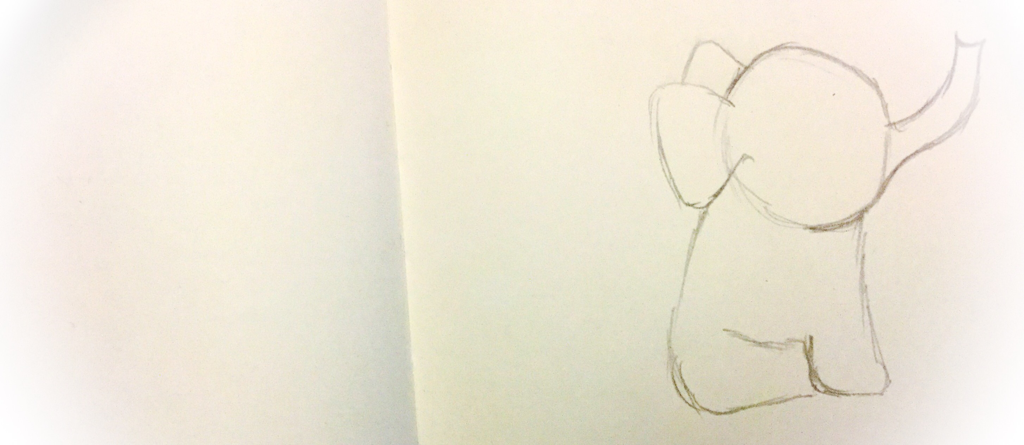 4. Draw a body, corner size with legs. 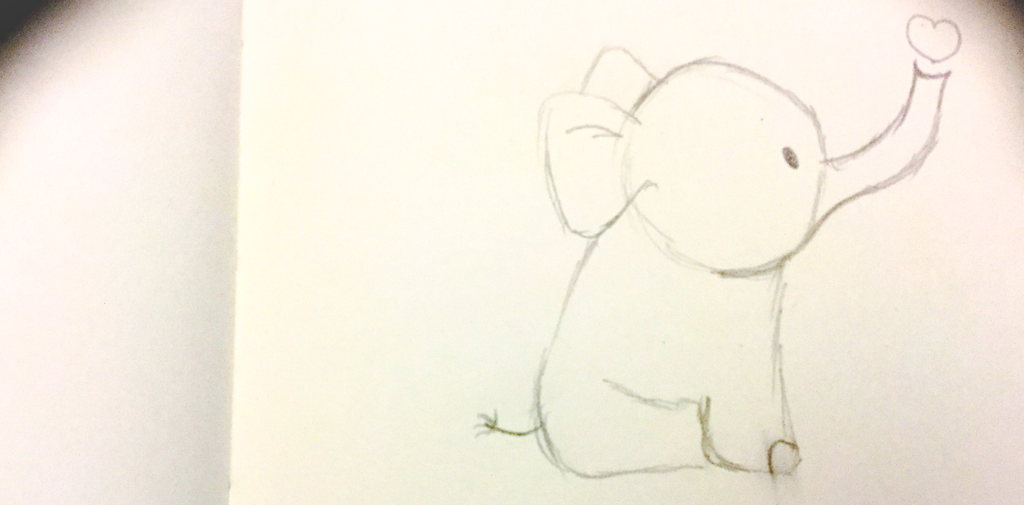 5. Now draw a small heart, tail and eye. You can colour f you want I didn't.
 This is the second last post before I go back to normal posts. So this post is a step by step tutorial on how to draw a cute girrafe. 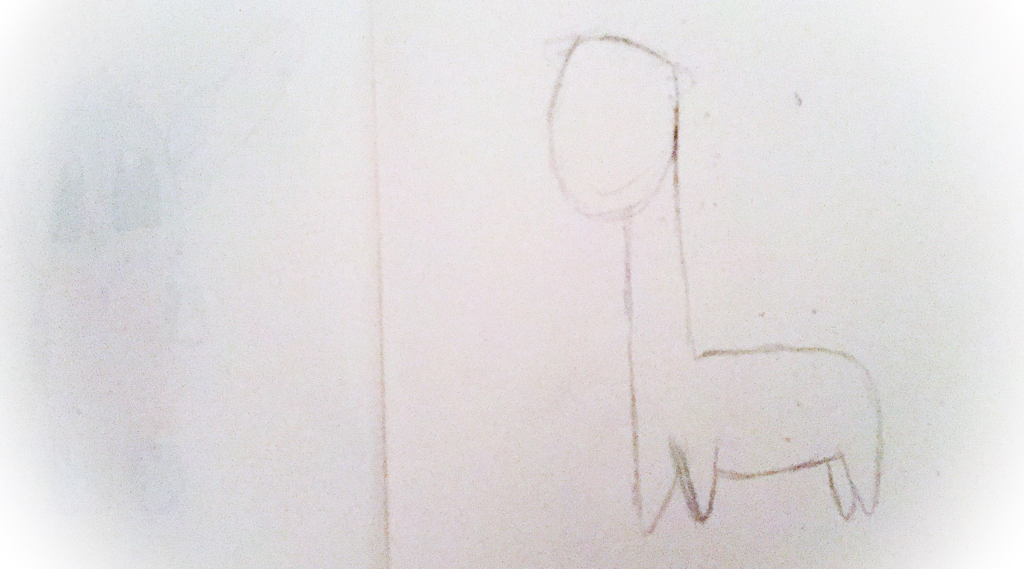 1. Fish draw a sketch of the body with pointy legs and a round half oval sort of head. With a long head. 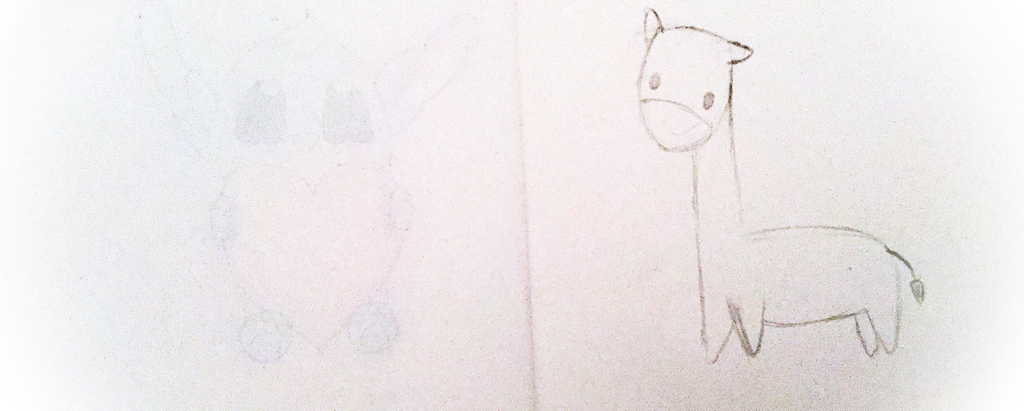 2. Add a tail, a curvey line over to show the nose. 2 eyes and a eye on each side however you want them to be like. 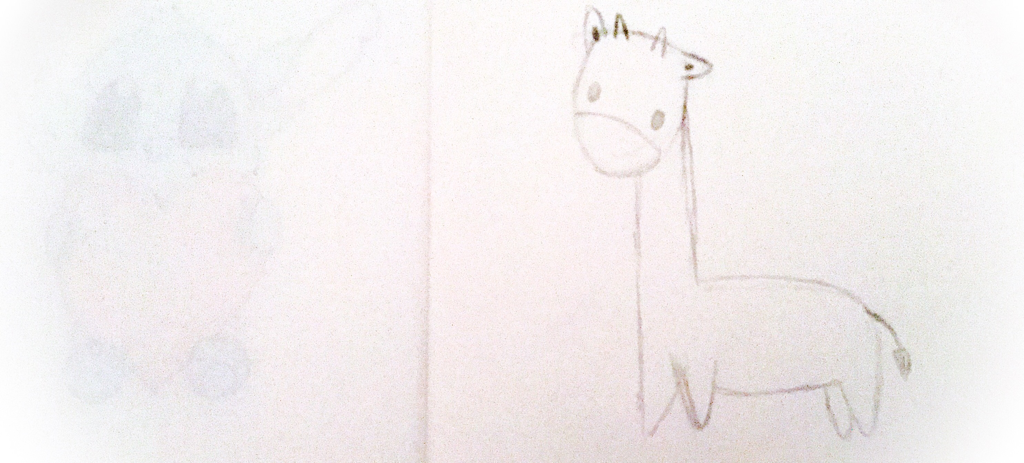 3. Draw 2 long triangles for the horns. 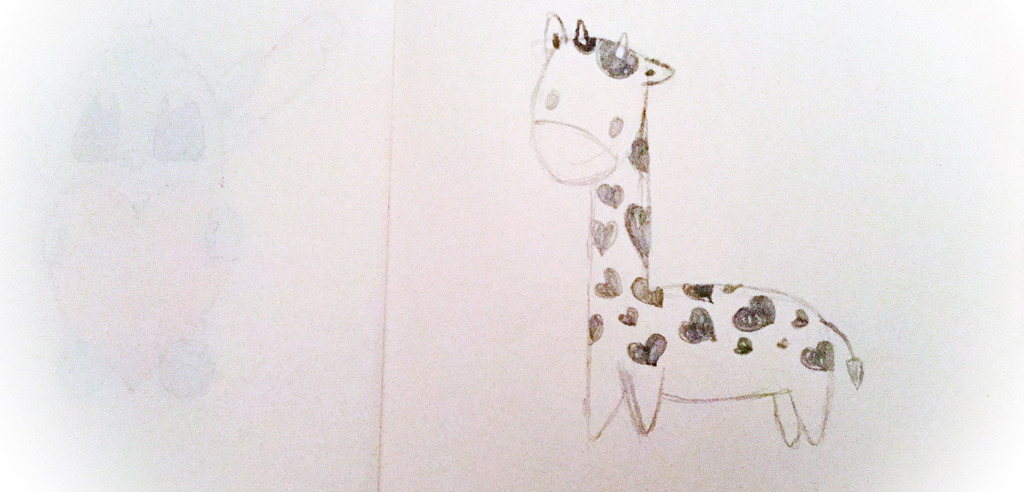 4. Lastly draw love hearts for the spots. You can go over with a fine liner or colour it in if you want.
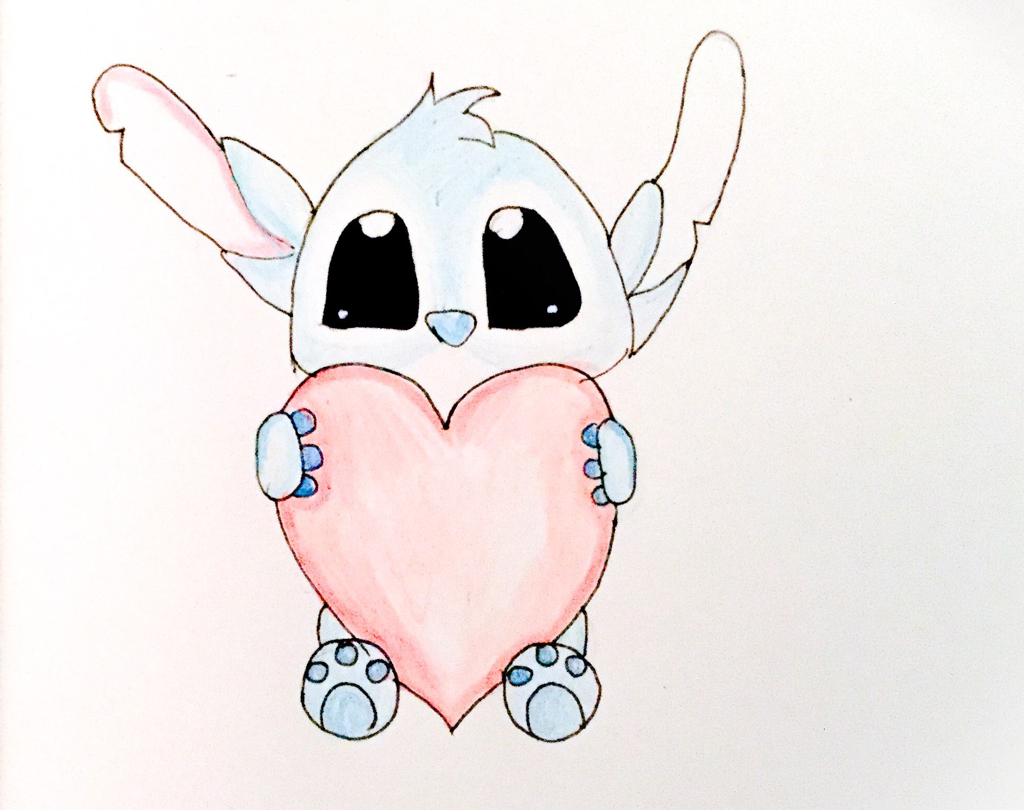 This is one of the last posts for the 2 week happiness challenge of drawing. Sorry I missed a few days because of being busy. When the challenge is finished I will go back to my usual posts. Wednesday I will post tips, tricks, facts, ext. Then on Sundays I do Step by step tutorials and DIYS. 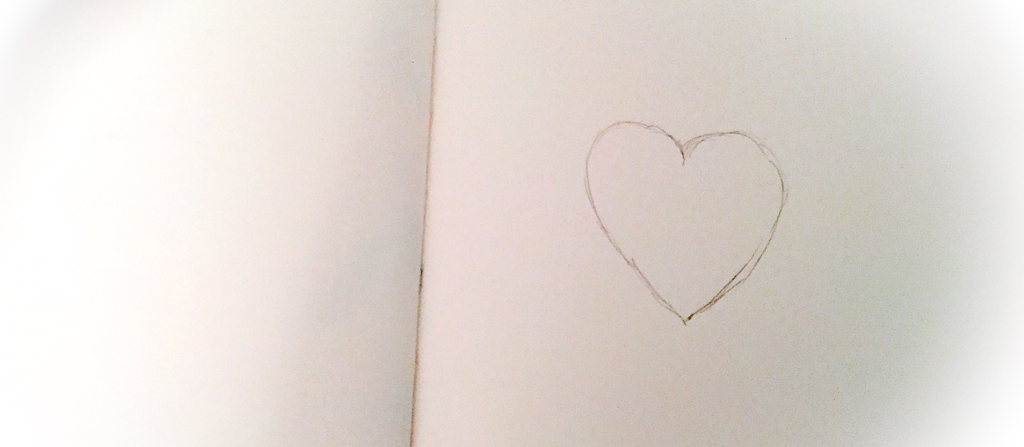 1. Draw a heart, whichever size you want. 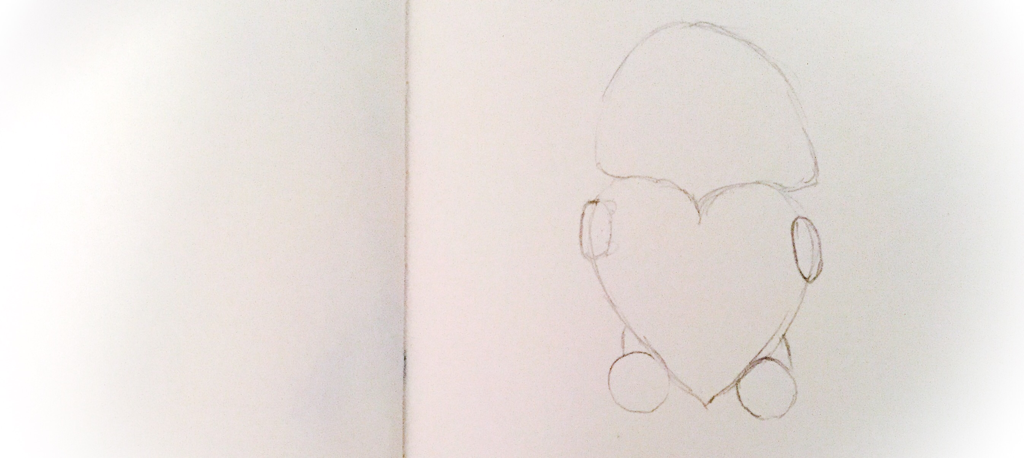 2. Now draw a rounded triangle for the head. Also draw an oval on either side of the heart. As well as a circle at the bottom of each side for the feet. 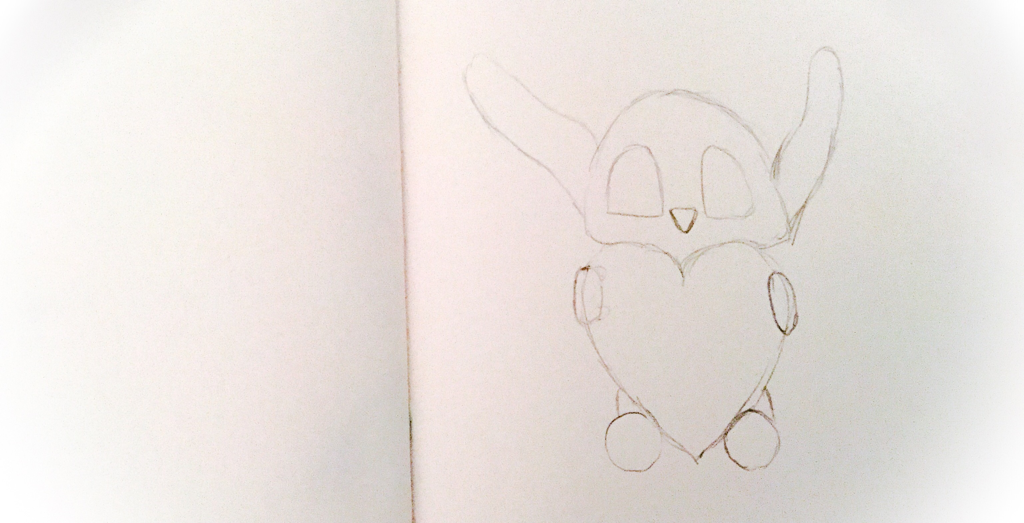 3. Draw two oval half triangle sort of shapes for eye sizes. As well as ears, they have to be long but however you would like. 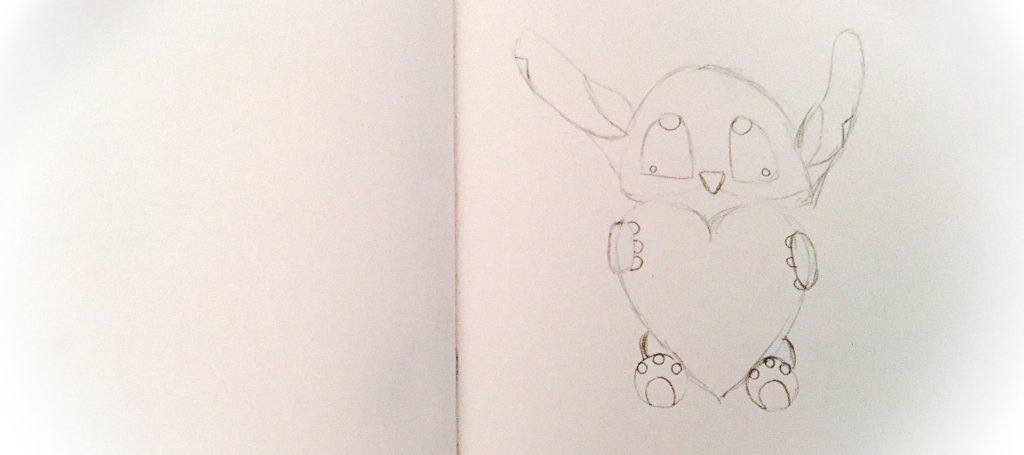 3. Draw 3 small circles and a big circle for the feet. Also 3 fingers on each paw and small circles for the light in the eyes. 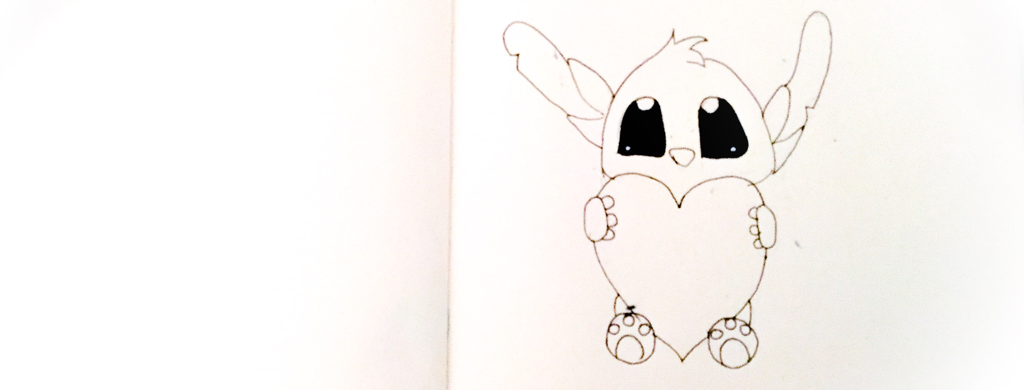 4. Go over the drawing with fine liner. 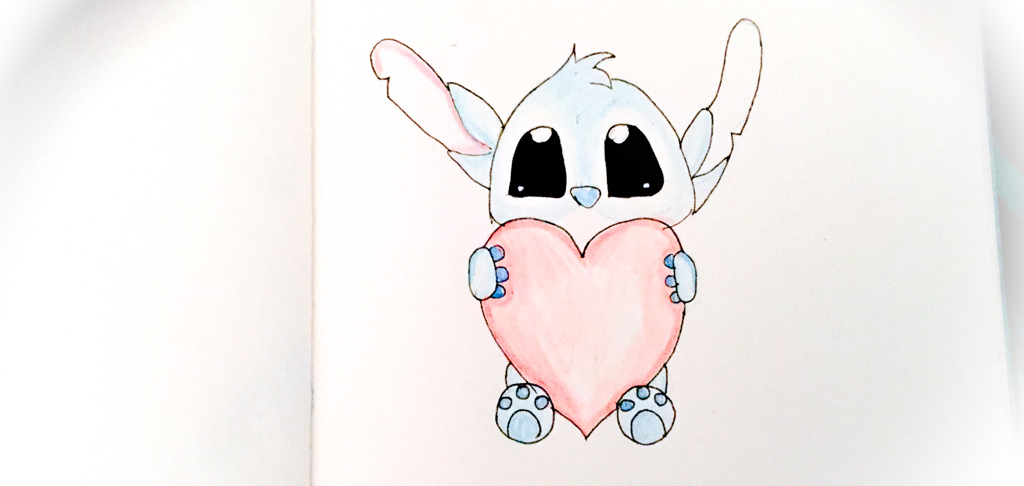 5. Now if you would like you can colour it in. (I didn't finish colouring it in this image).
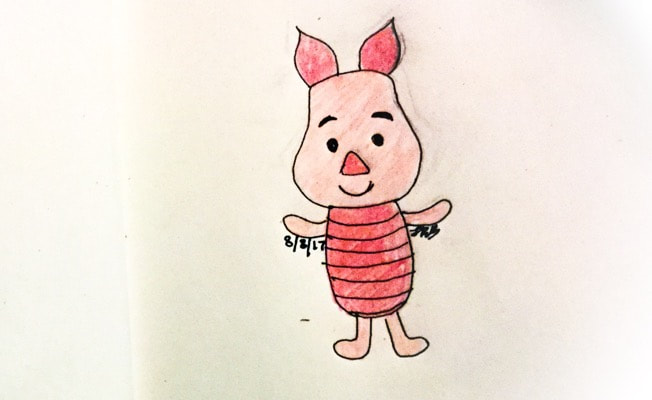 This is another post on my 2 week happiness drawing challenge. Today I am doing how to draw piglet from Winnie the Pooh. This is the third last post of the challenge and then I will go to my usual posting. 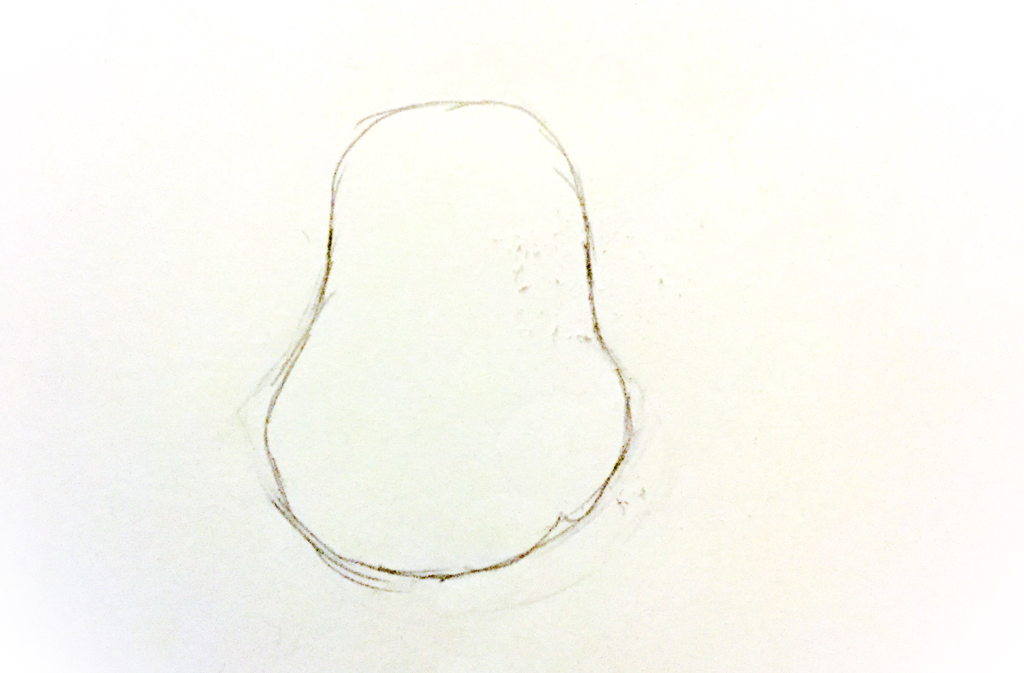 1. First draw an oval and a bigger sort of circle at the bottom to make it look like the image above. 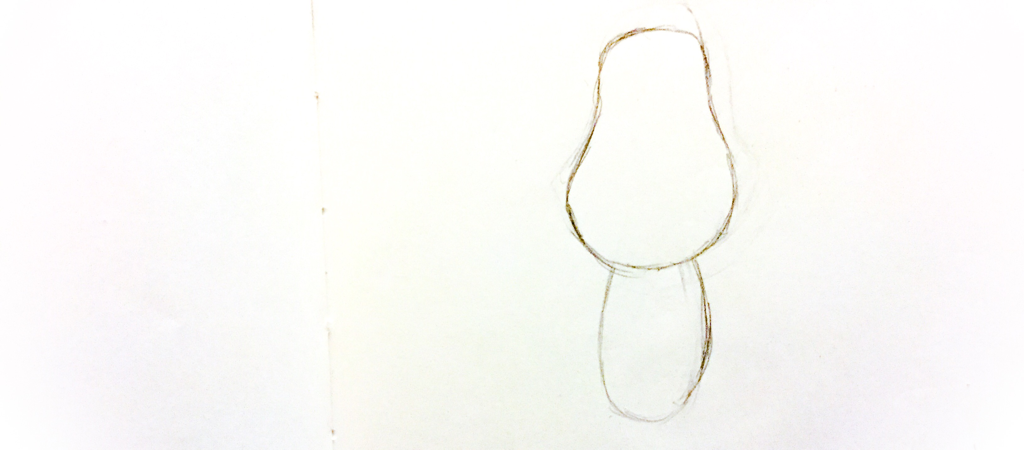 2. Draw a oval connecting into the head. To form the body. 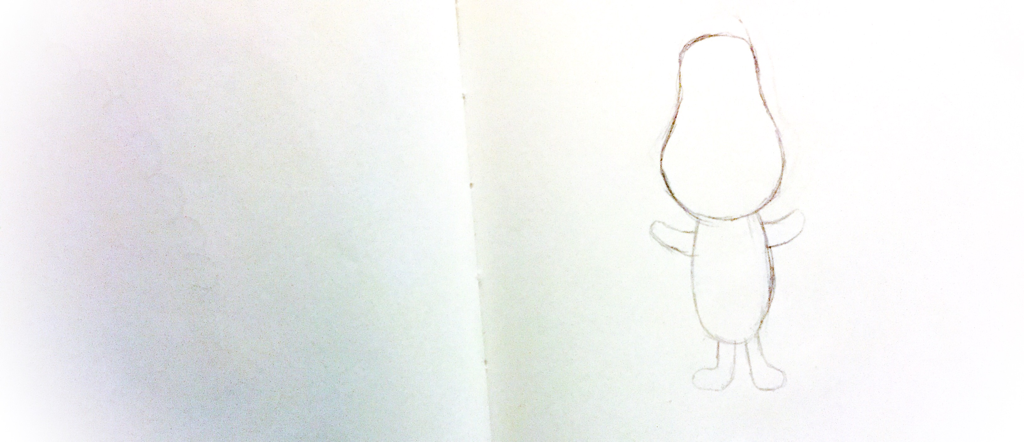 3. Now draw the legs and arms. Two long ovals connecting onto the body for the arms and two long ovals with feet for the legs. 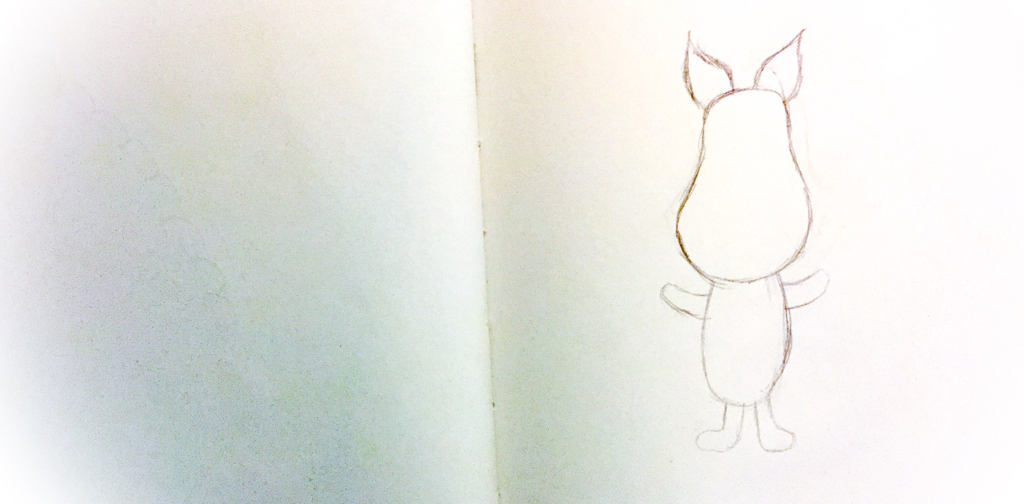 4. Now draw the ears with not perfect triangles for the ears. 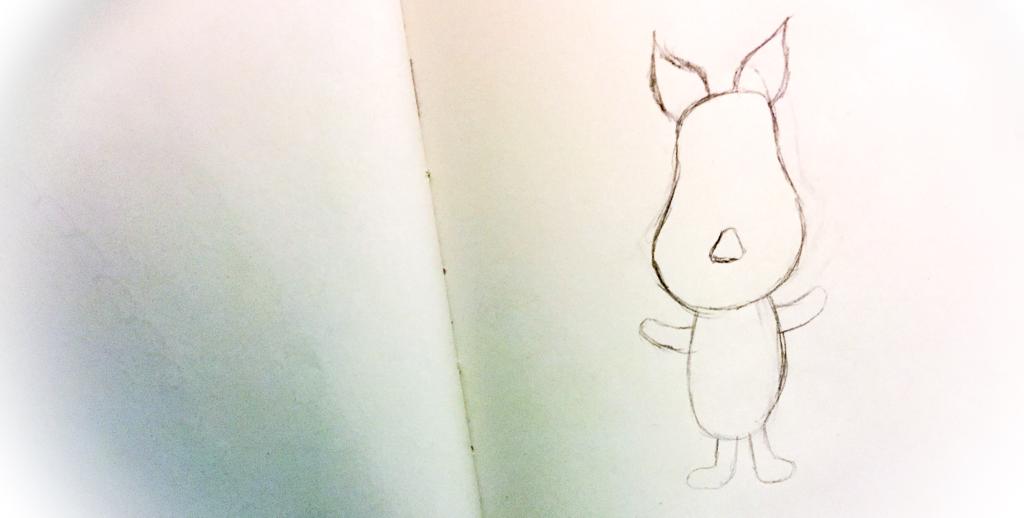 5. Draw a triangle with curves not points. 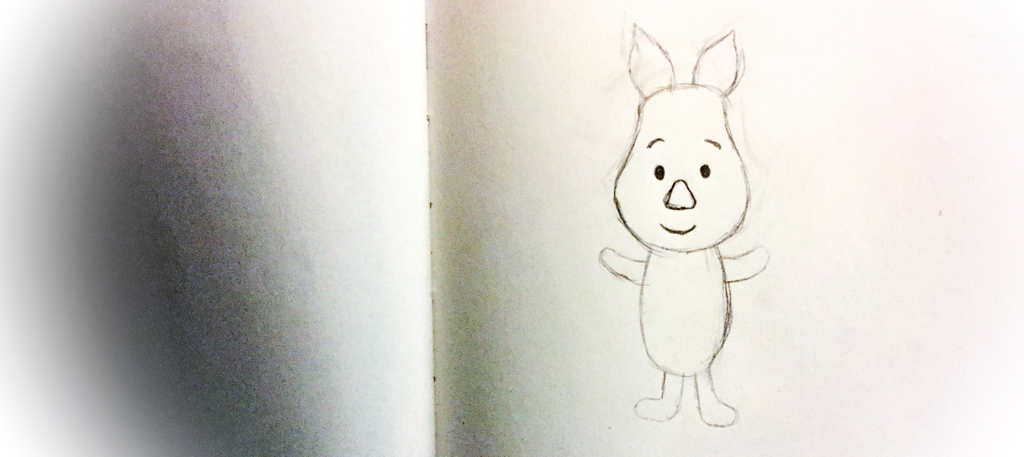 6. Next draw two dots for the eyes, a curve for the smile underneath the nose. As well as small curves above the eyes as eyebrows. 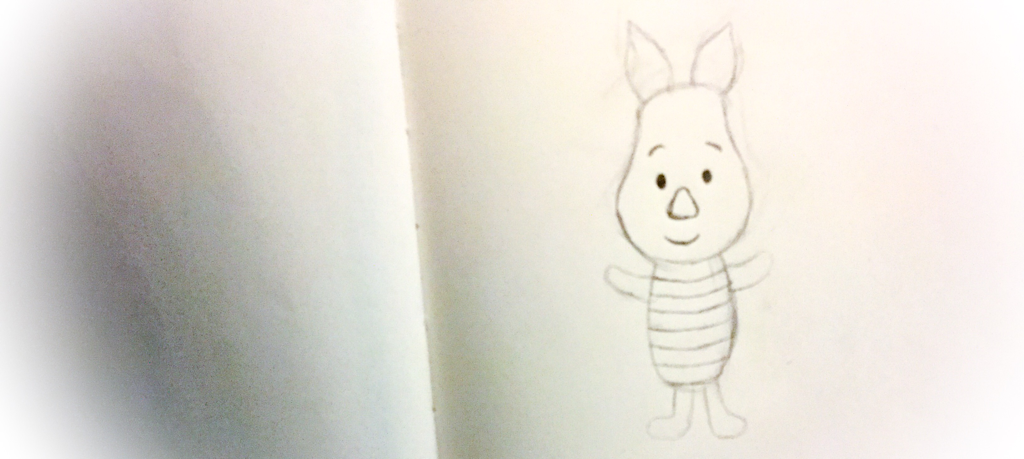 7. Draw curvey lines on the body. 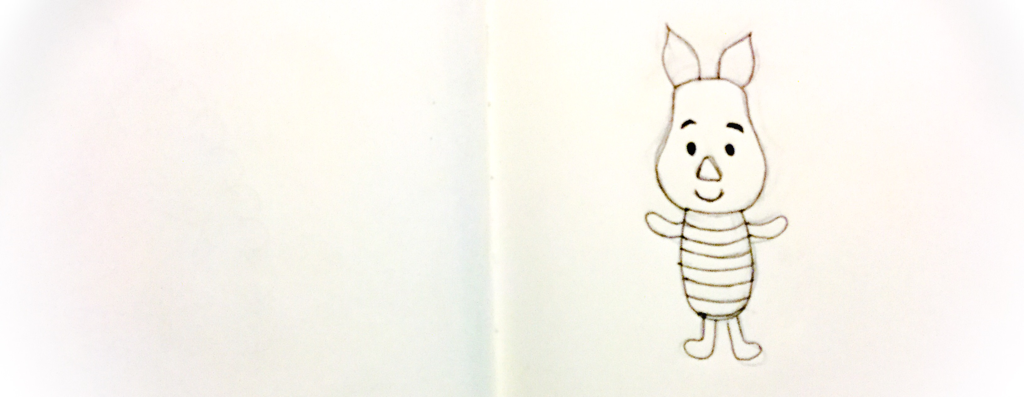 8. Go over the greylead lines with a fine liner. 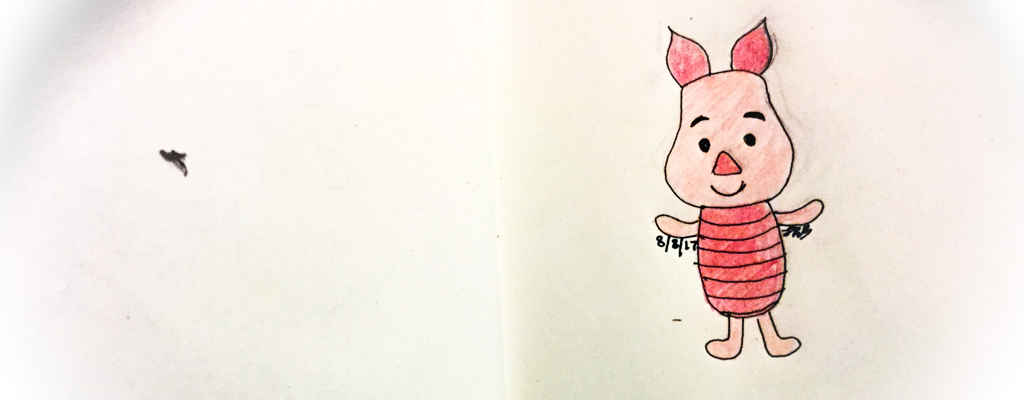 9. Colour in the drawing if you would like. I used coloured pencils and then your done.
 This is another post from the 2 week drawing challenge. This is another Disney tutorial, how to draw Mickey Mouse.  1. First draw a big circle with 2 small circles for the ears. 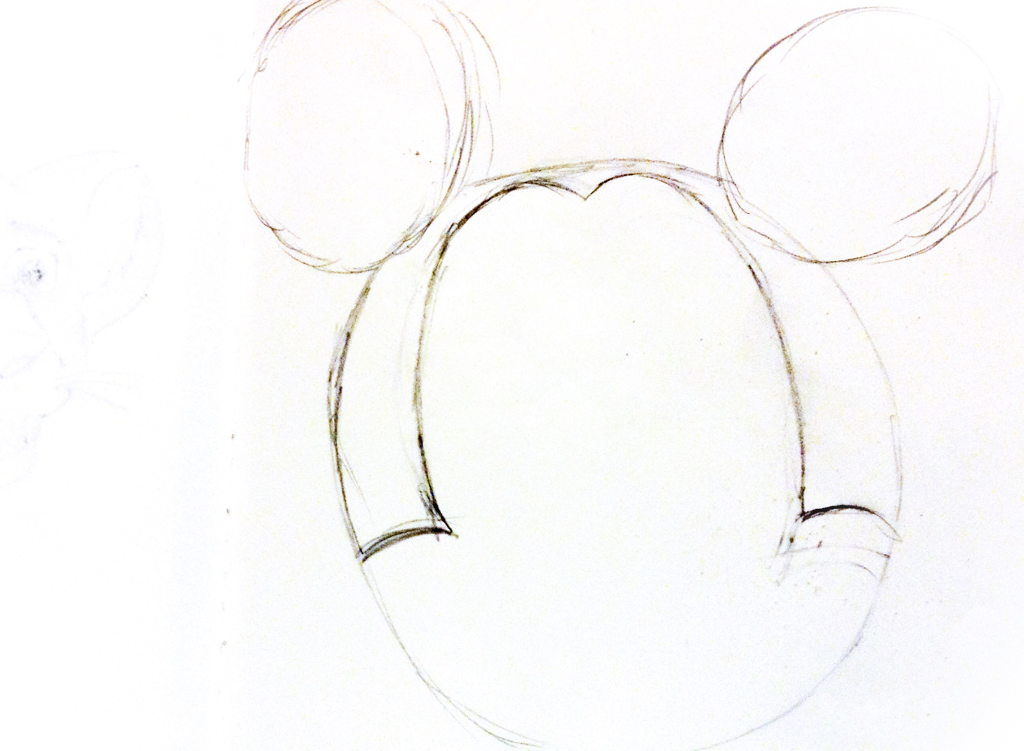 2. Draw a lump on each side for cheaks and curves up on each side, like the image. 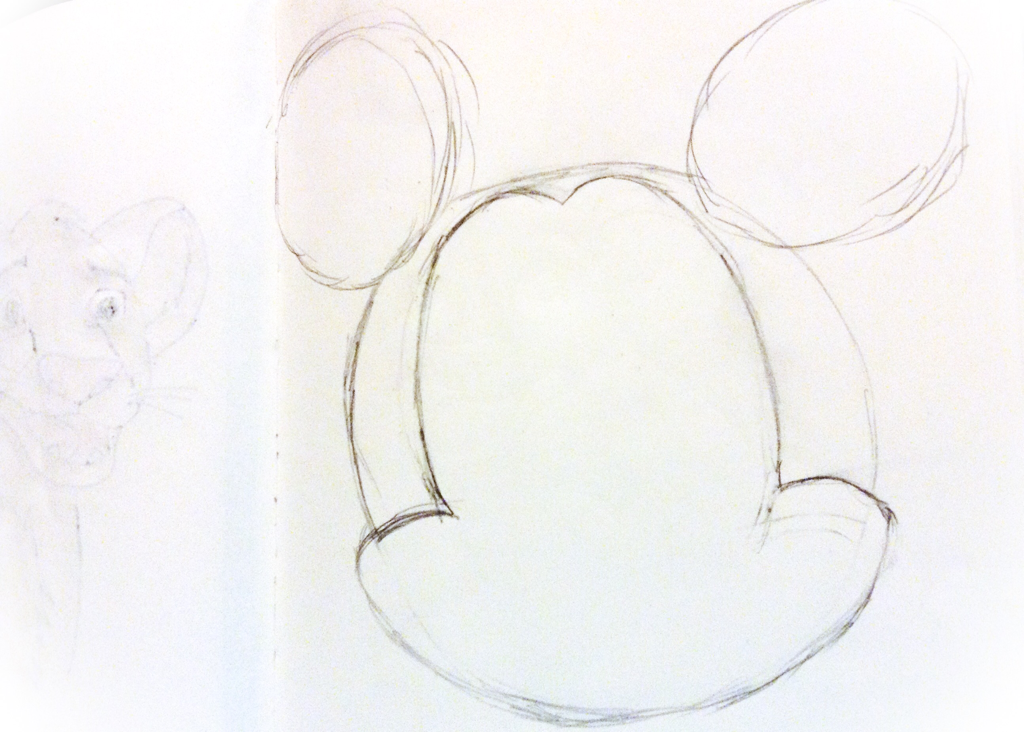 3. Now define the cheaks.  4. Do a bump at the bottom for the mouth, then draw the mouth. A curvey line and two small lines on each side and a curve from each side of the line to the other, with a tounge. 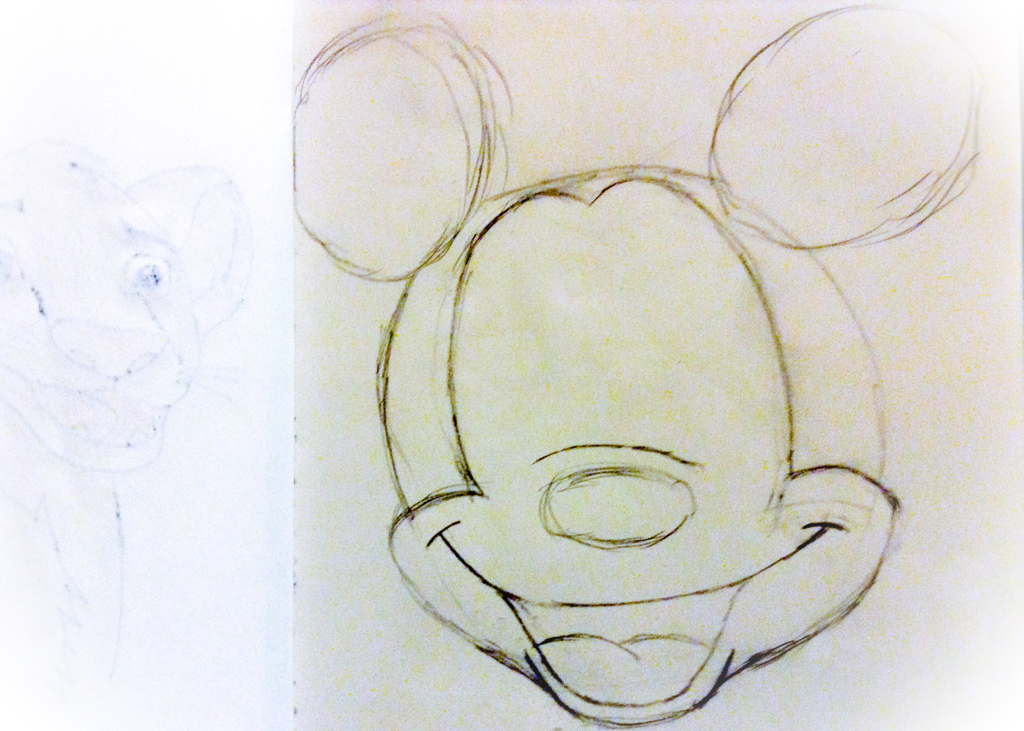 5. Draw a oval above the mouth and a curved line around the size of the nose. 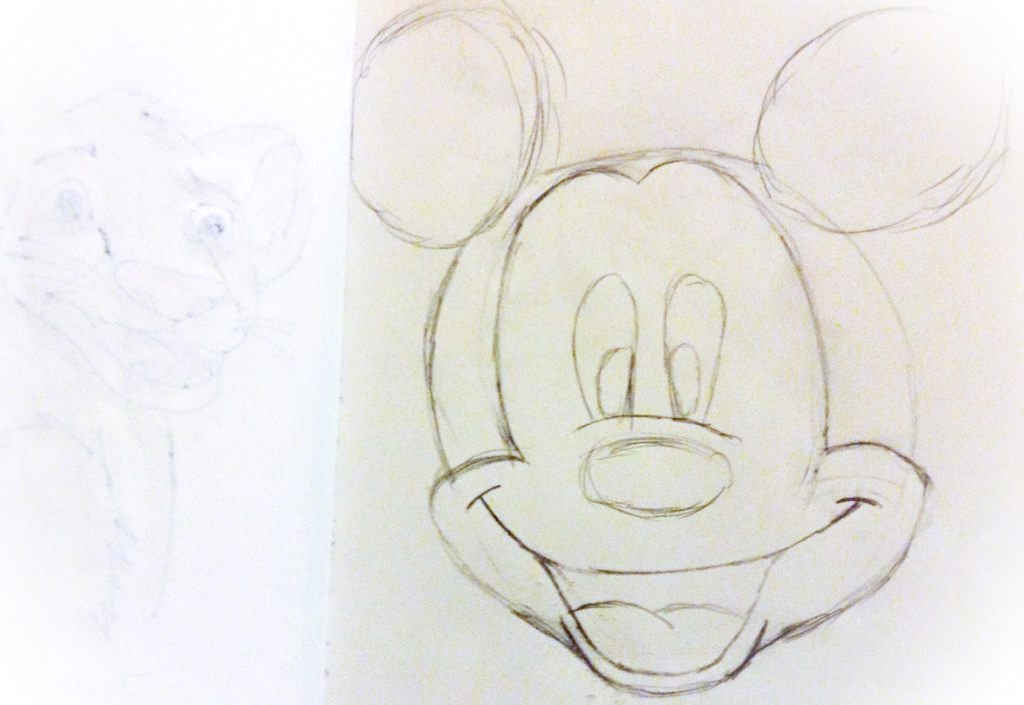 6. Draw the eyes on the line and a small pupil. 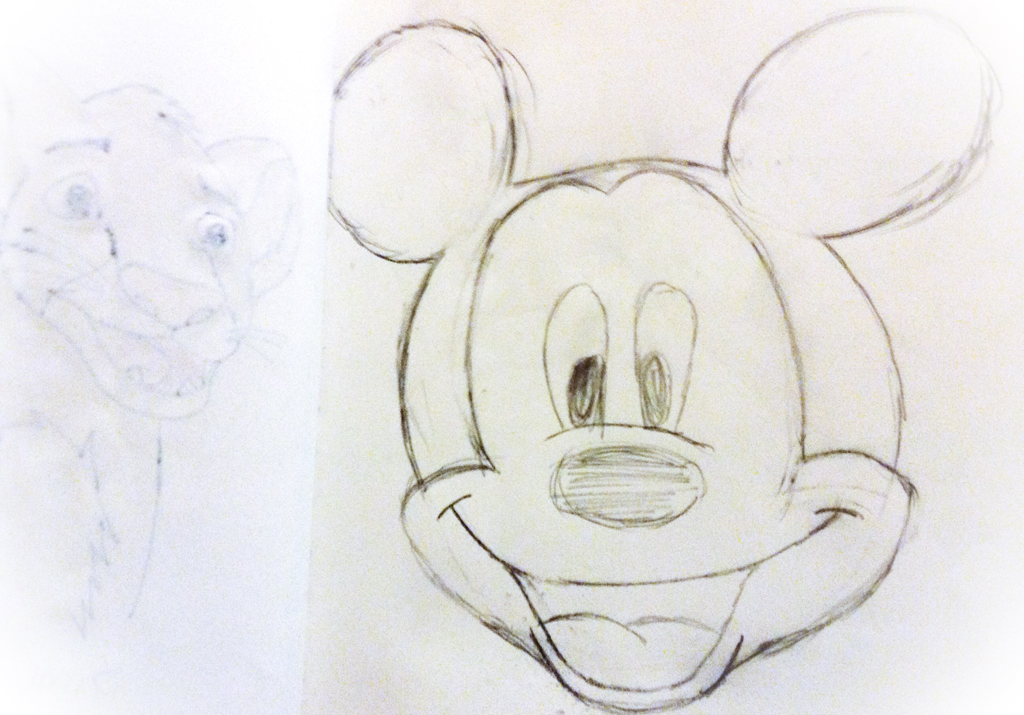 7. Nine define the lines and colour in the nose and pupils. 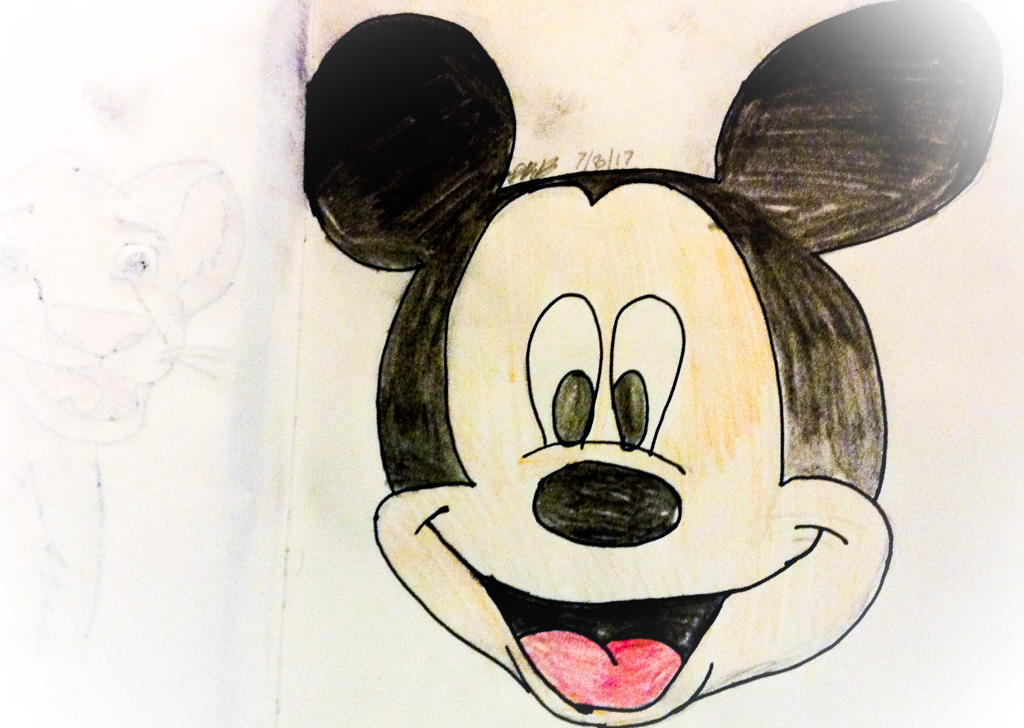 8. Lastly you can go over it with fine liner and colour it in or leave it.
 Sorry I haven't posted for a few days about the 2 week drawing challenge, I have been fairly busy. This is a step bye step tutorial on how to draw Simba from the Lion King. Sorry for the fuzzy photos I took them in the car. 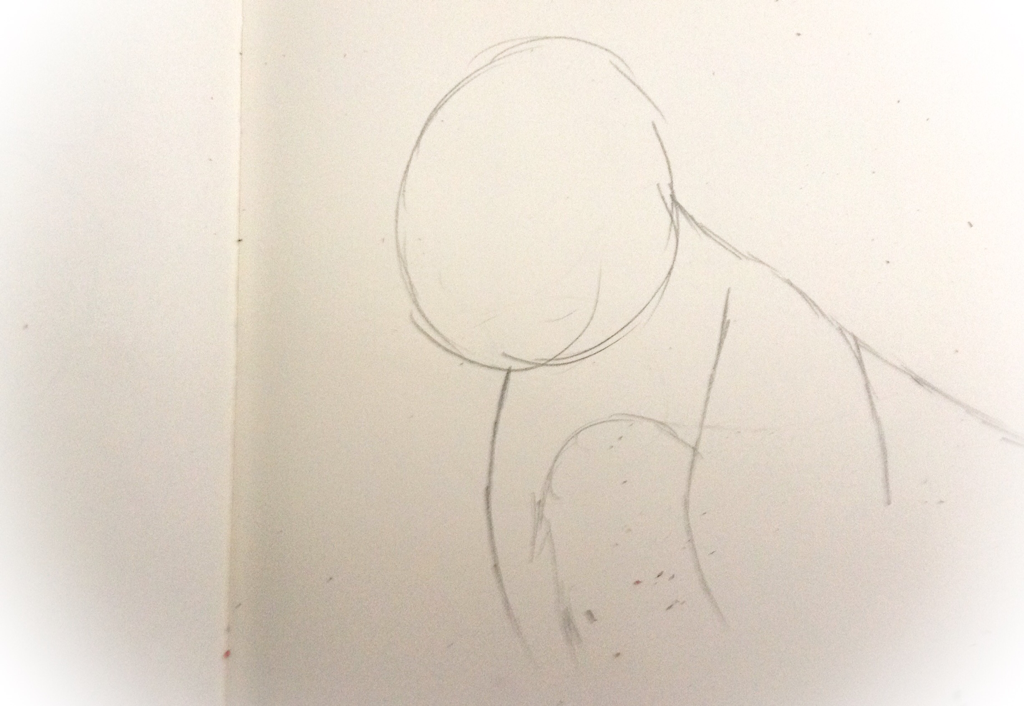 1. First draw a circle for the head and a sketch for the body. 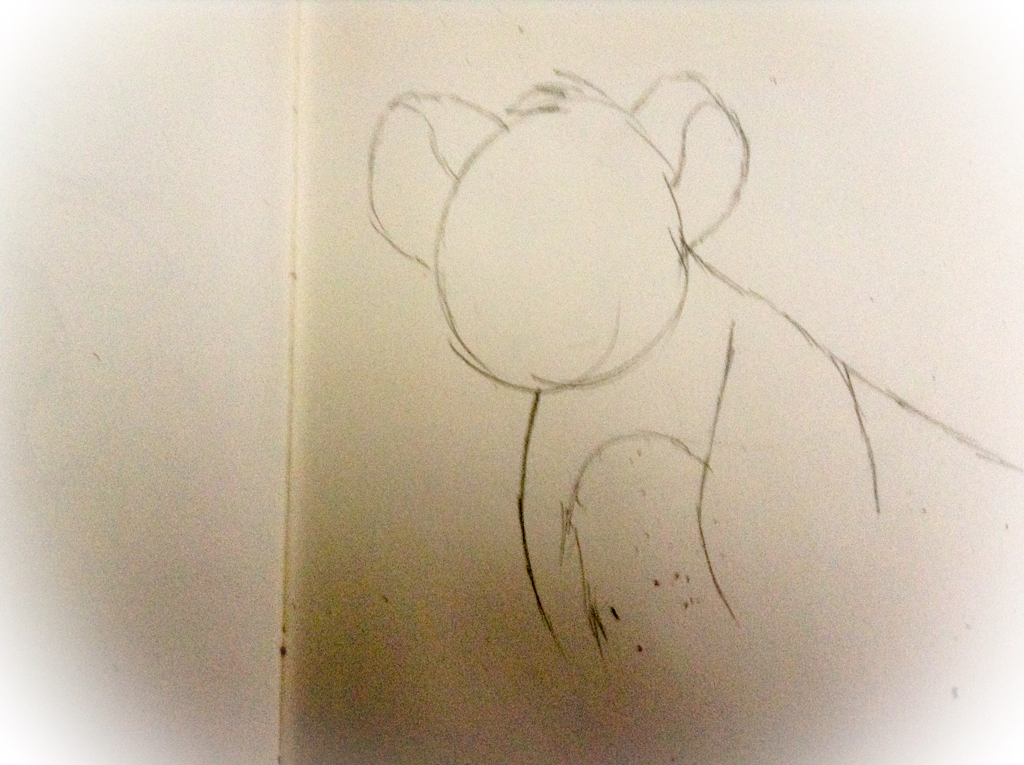 2. Now draw a fine sketch if the ears. 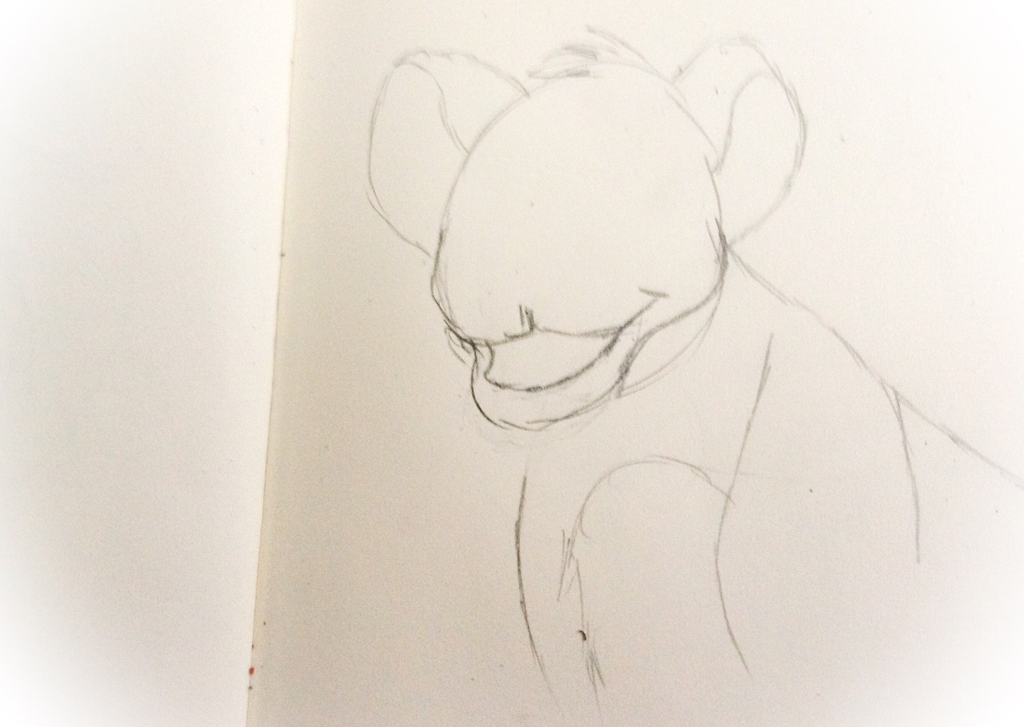 3. Next define the mouth more, with two bumps for the nose and a half oval sort of line for the mouth. 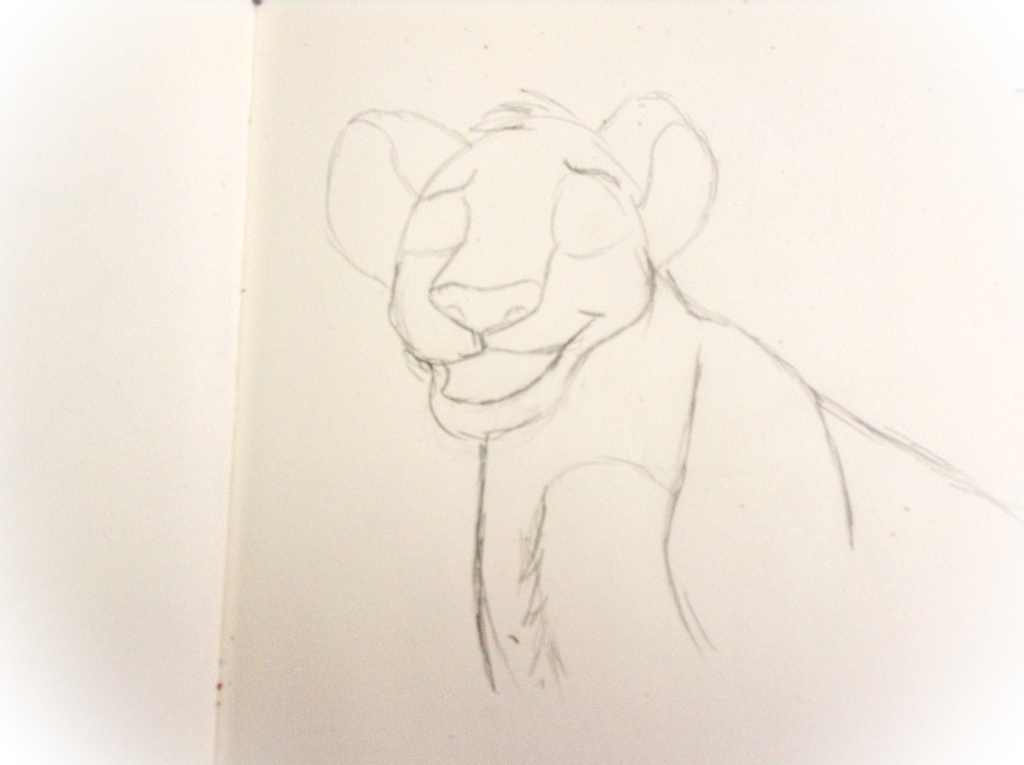 4. Now draw a snout, two lines on ether side of the nose. Also two faint ovals for eyes and eyebrows. 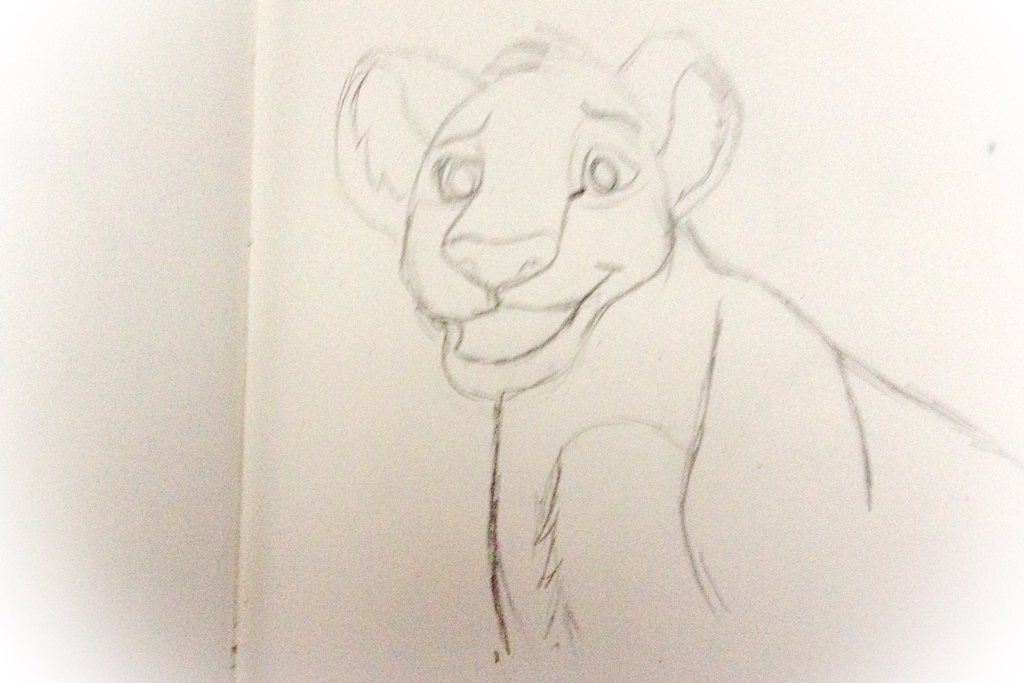 5. Now draw the eyes and pupils. 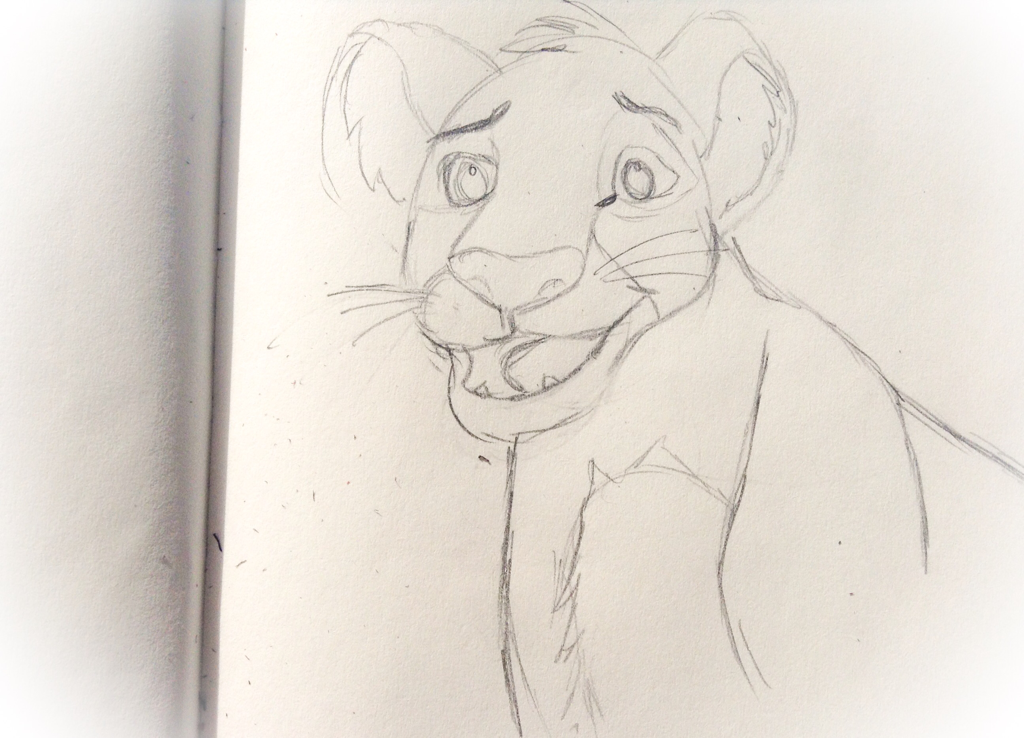 6. Now finish off the face with some ear fur, wiskers and 2 teeth. 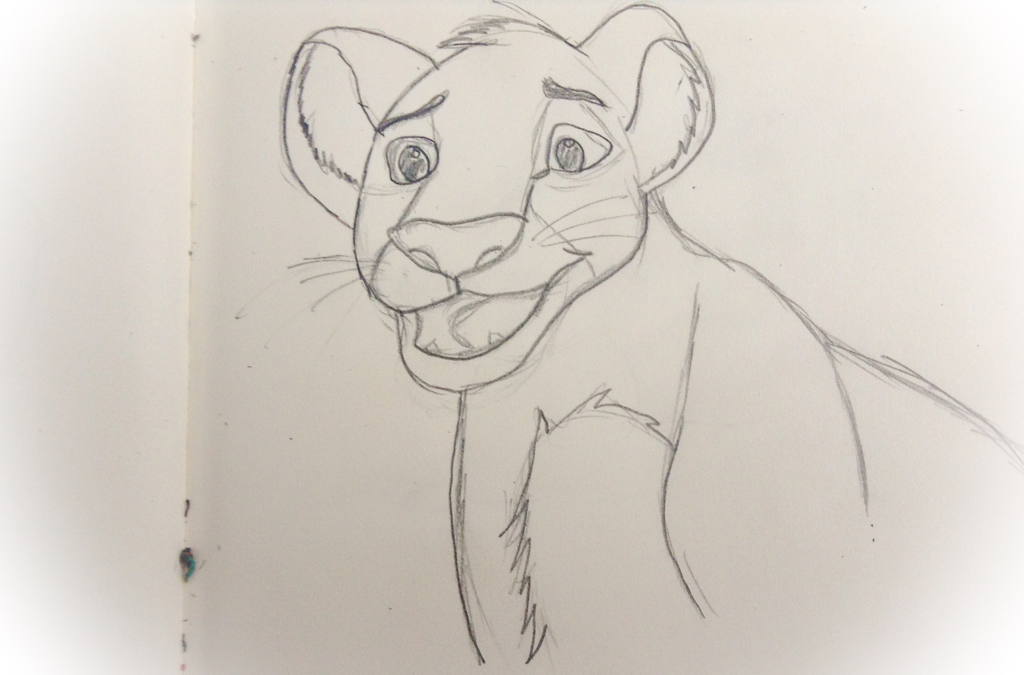 7. Finals the lines and rub out not important lines. 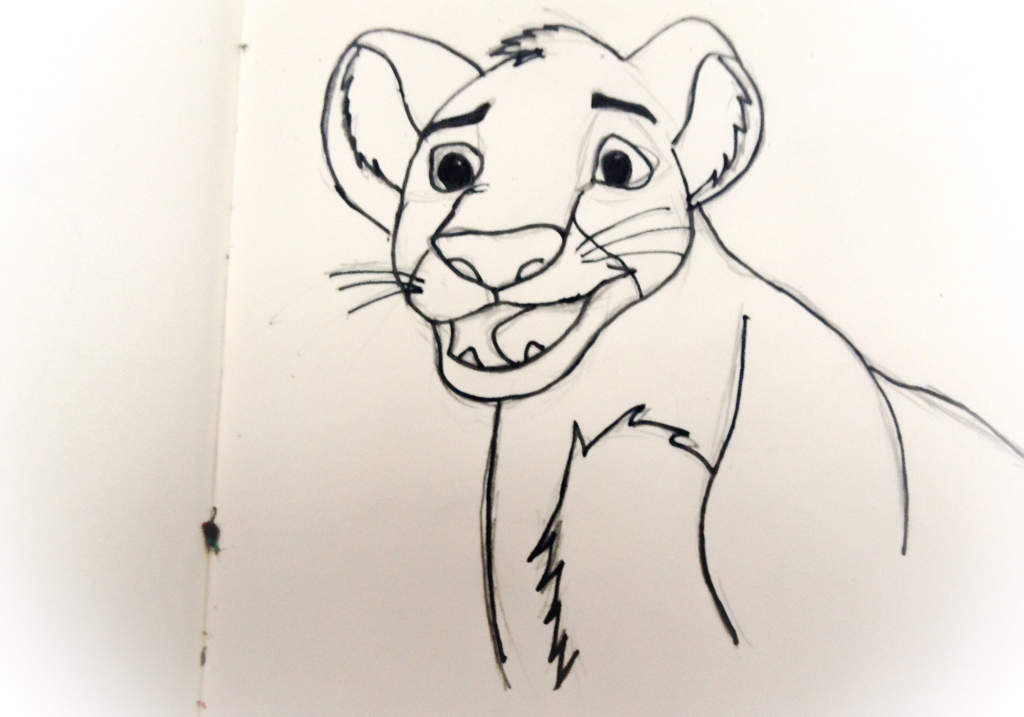 8. Go over with fine liners. 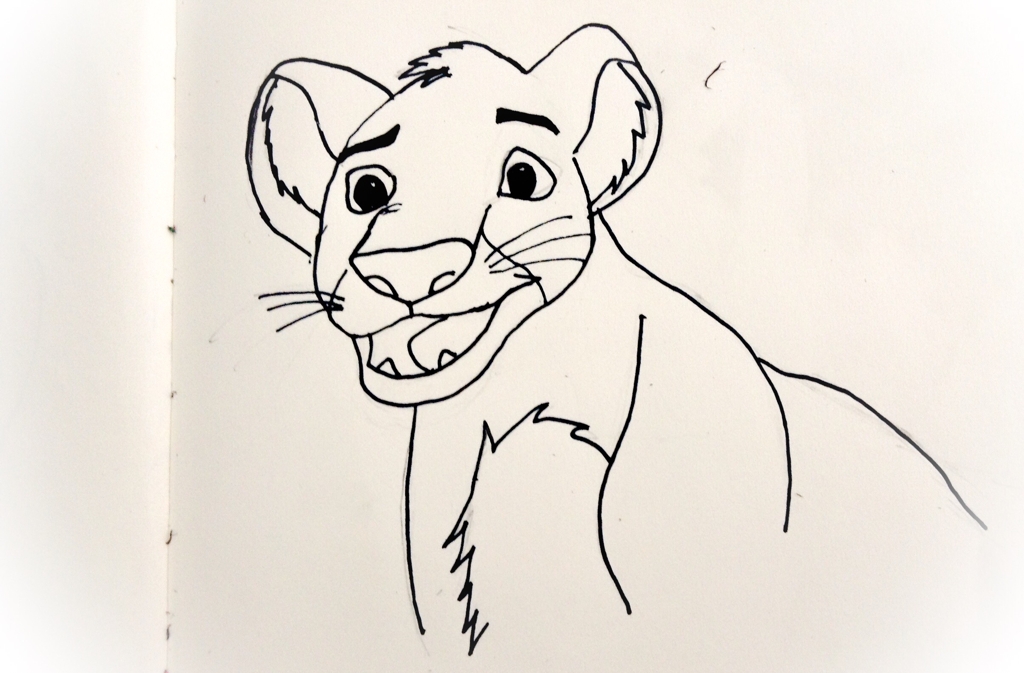 9. Rub out spare grey lead lines. 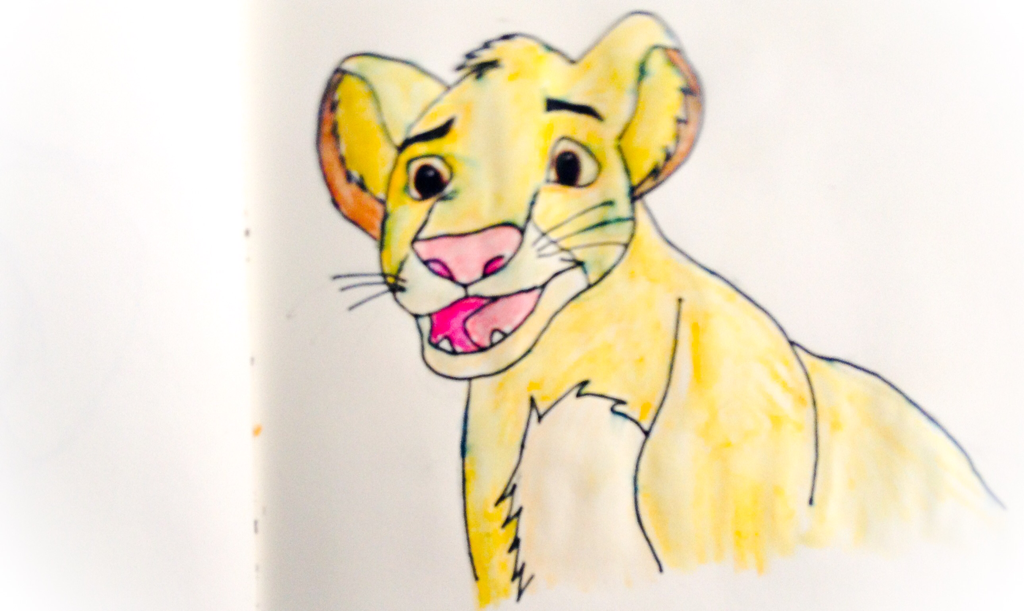 10. Lastly colour in the draw I used watercolours.
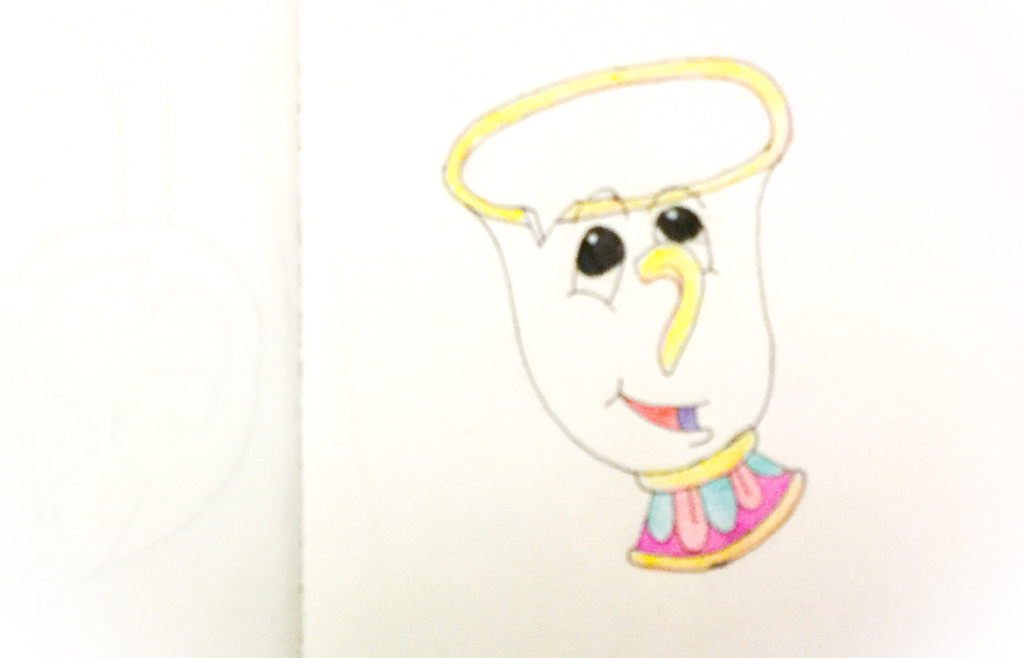 This is another drawing from my 2 week happiness challenge. This is how to draw a cartoon Chip from Beauty and the Beast.  1. First draw a long oval.  2. Draw a long curve connecting from one side to another side long. Like in the image. 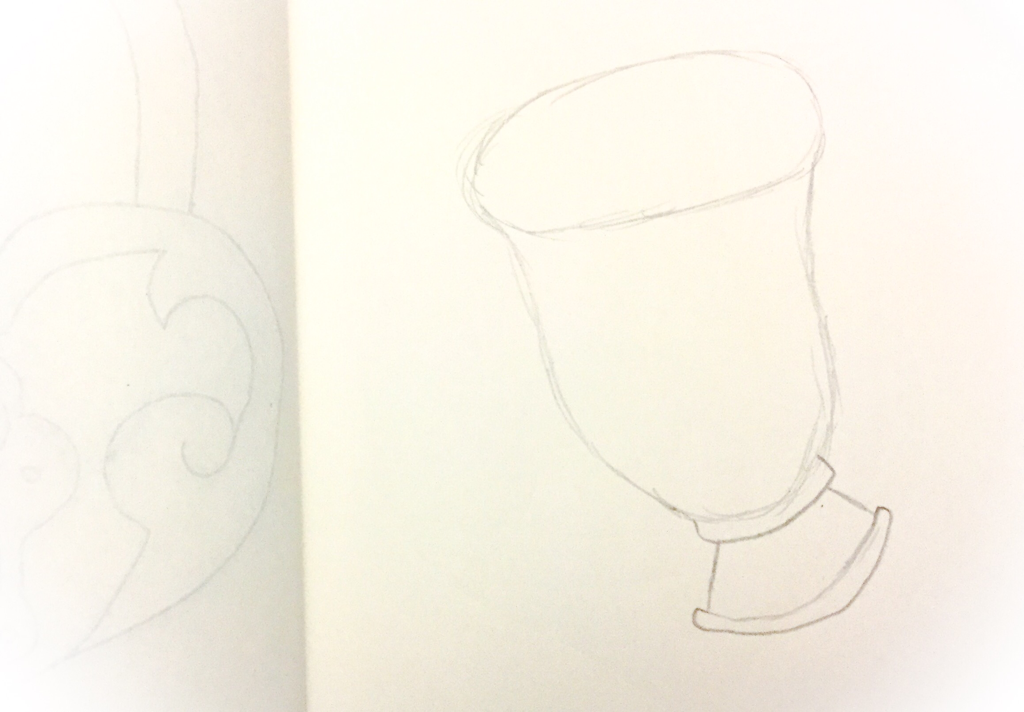 3. Draw the stand a thin line around the cup, then another bigger thin line about a centimetre or two and connect them together with two lines. 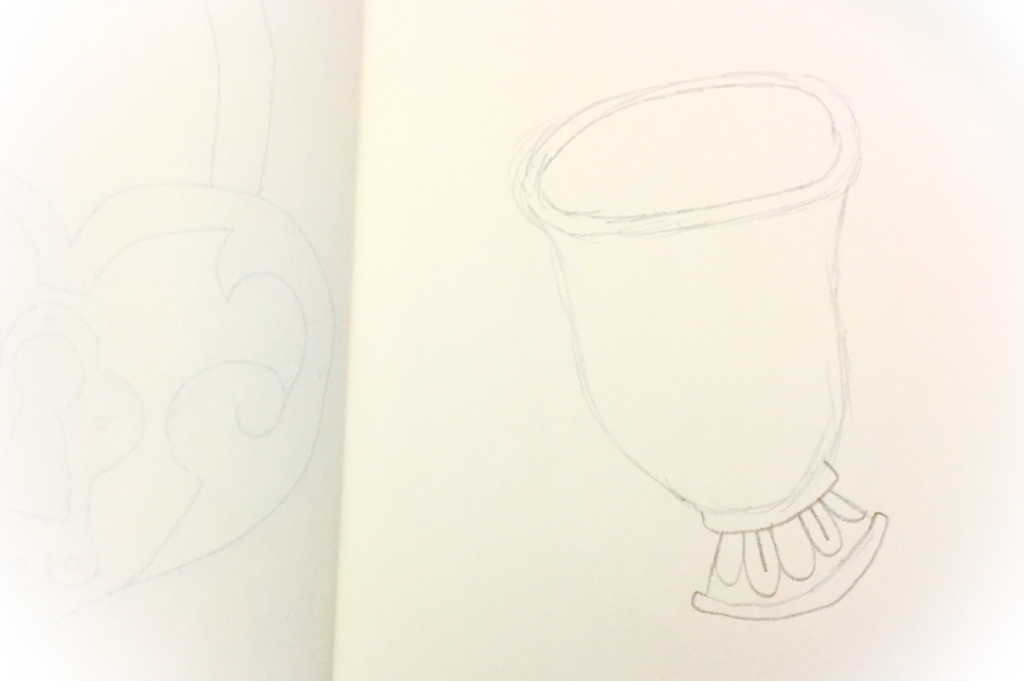 4. Draw a thin line around the rim and some loops as decoration at the bottom. 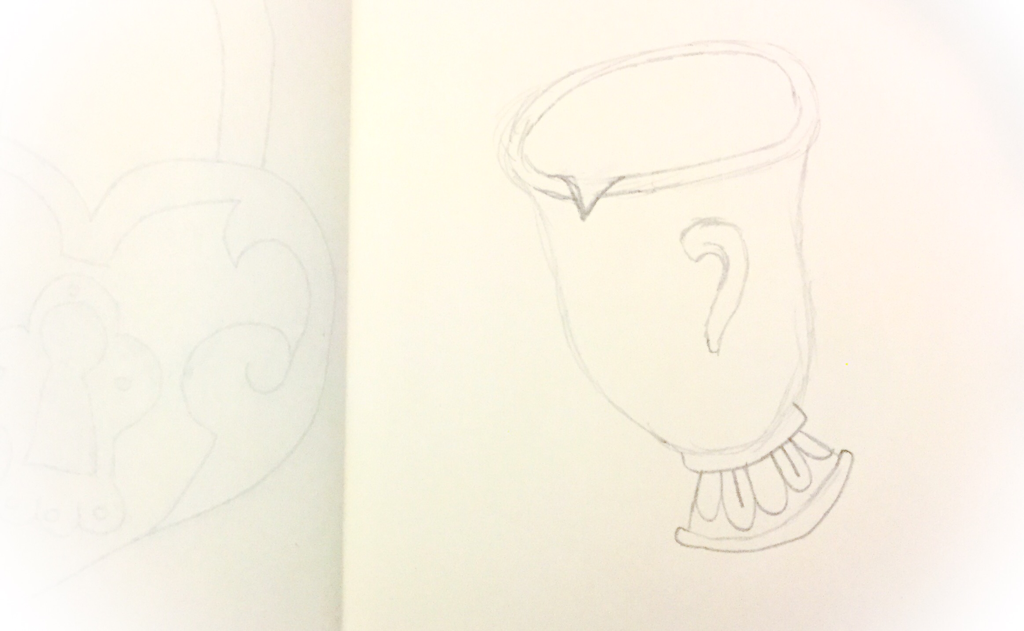 5. Draw a handle and a chip in the rim. 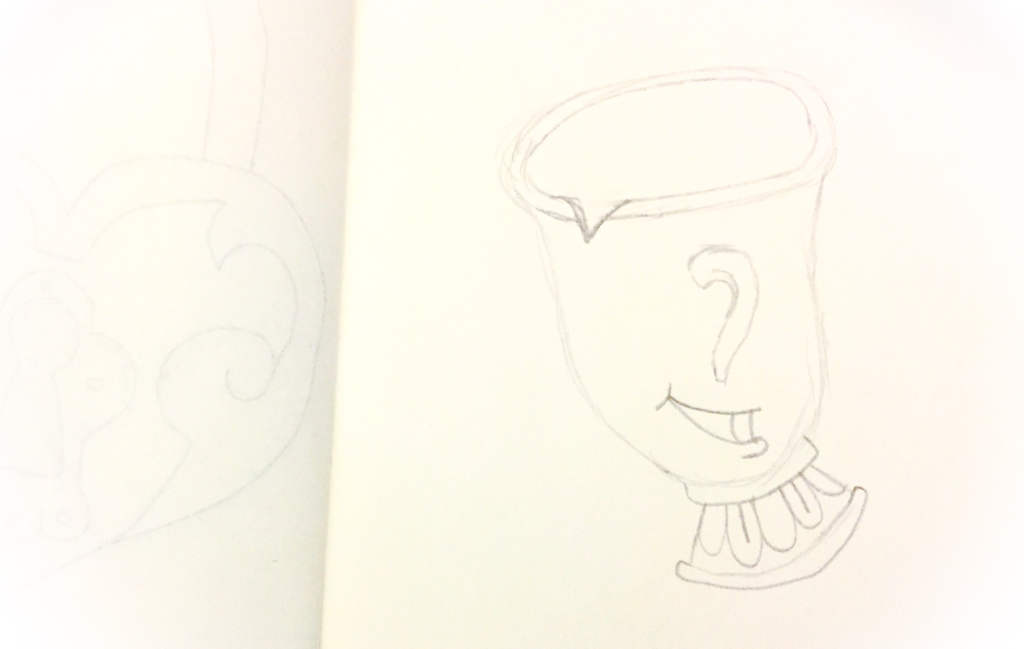 6. Now draw the smile. A small curve and draw two lines out of the curve and a small line to draw the tongue.  7. Now draw the eyes. 2 curves on each side of the handle. 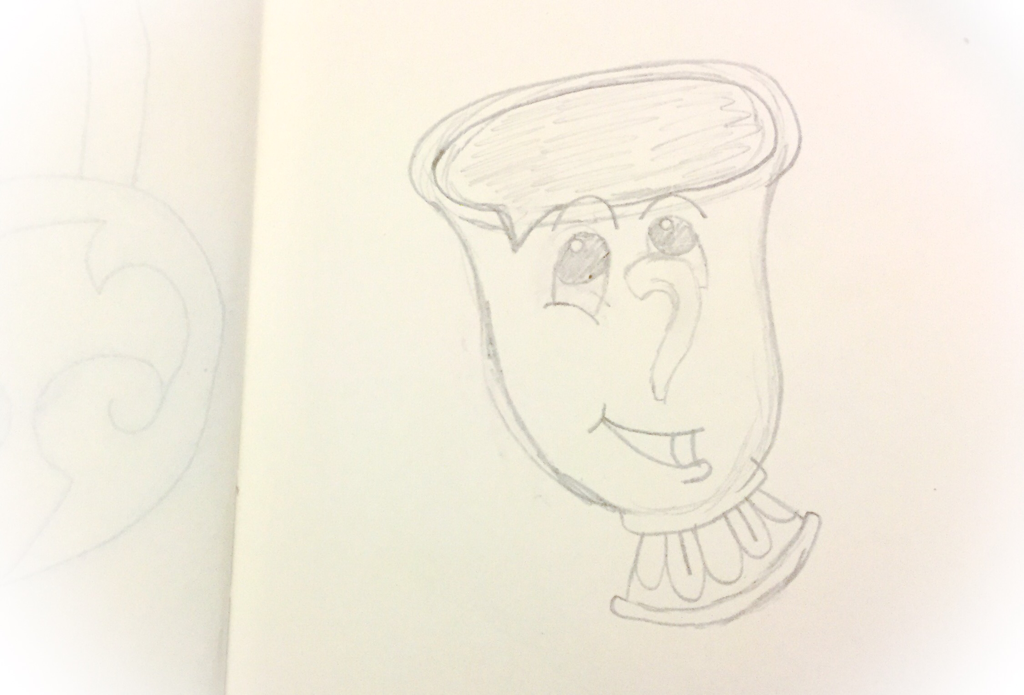 8. Now draw the pupils and some curvey lines for eyebrows about the eyes. 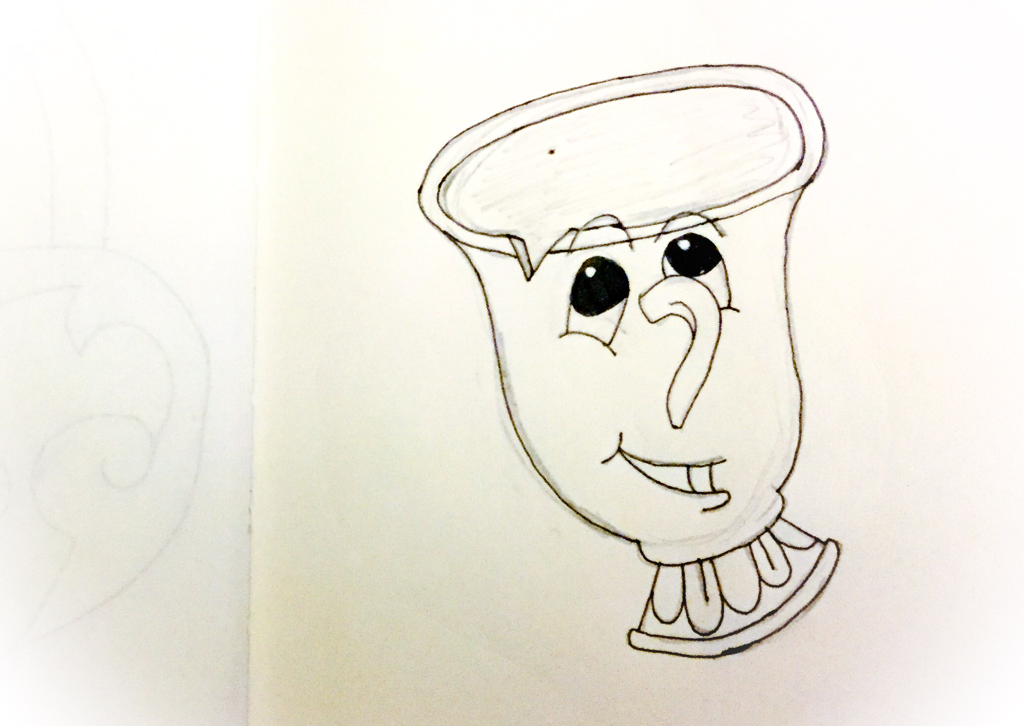 9. Go over with a fine liner.  10. Now colour it in however you like.
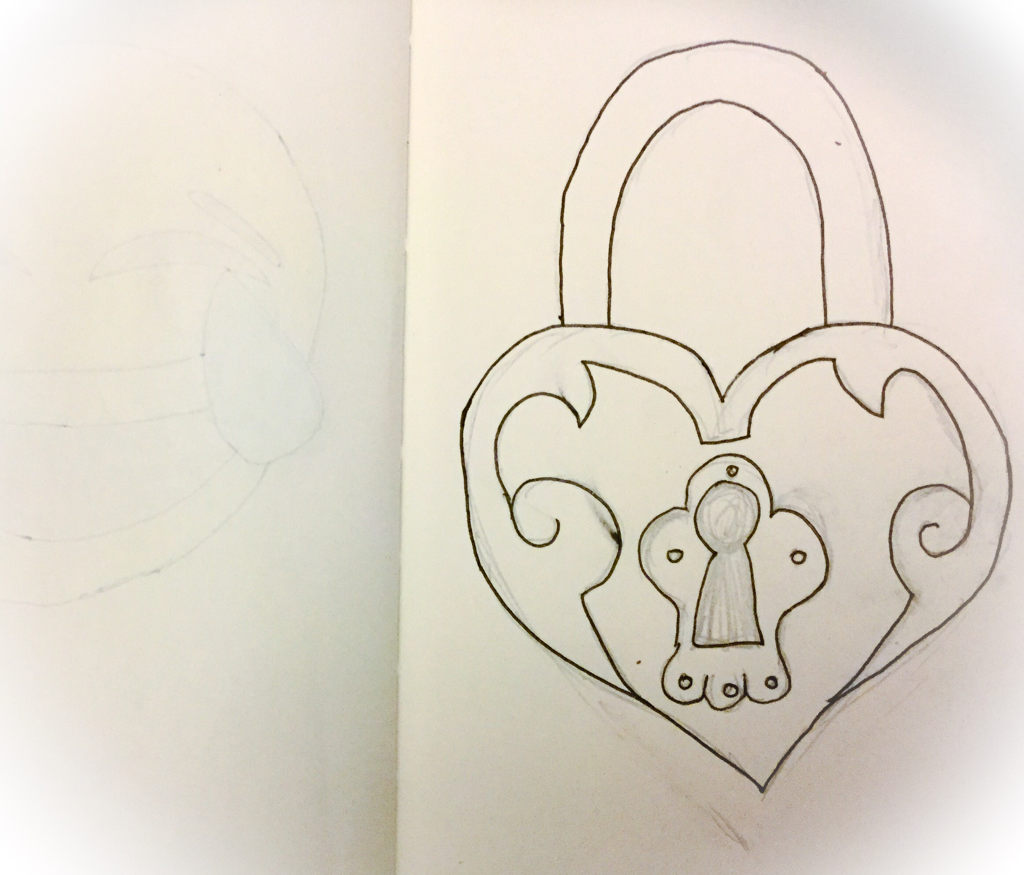 Hey today I have an easy heart lock. This is the third day of the 2 week happiness challenge. 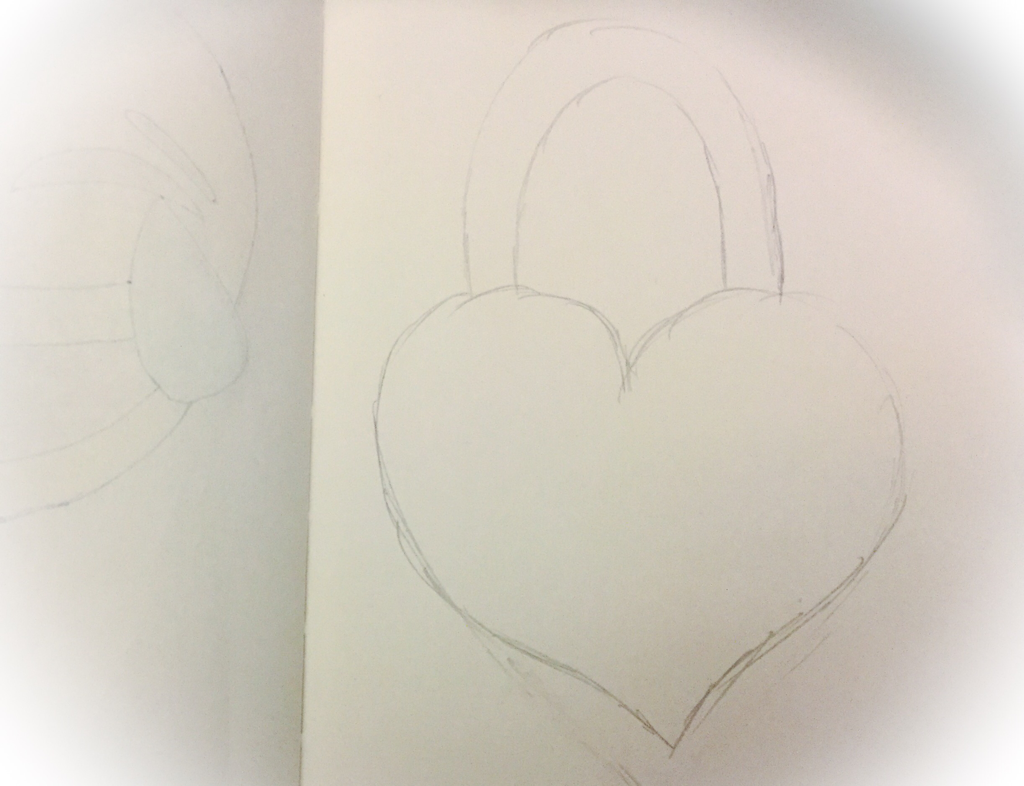 1. Draw a love heart the size of the lock you want and draw a handle. 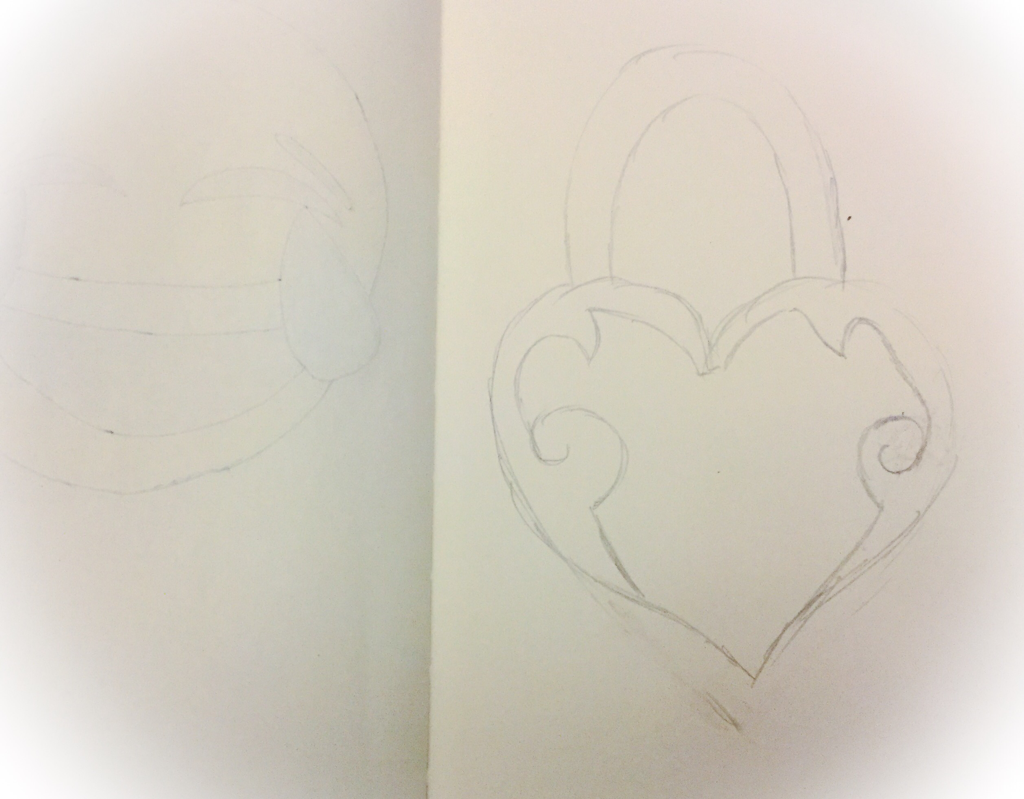 2. Draw some random curly lines. Have them the same on the other side. 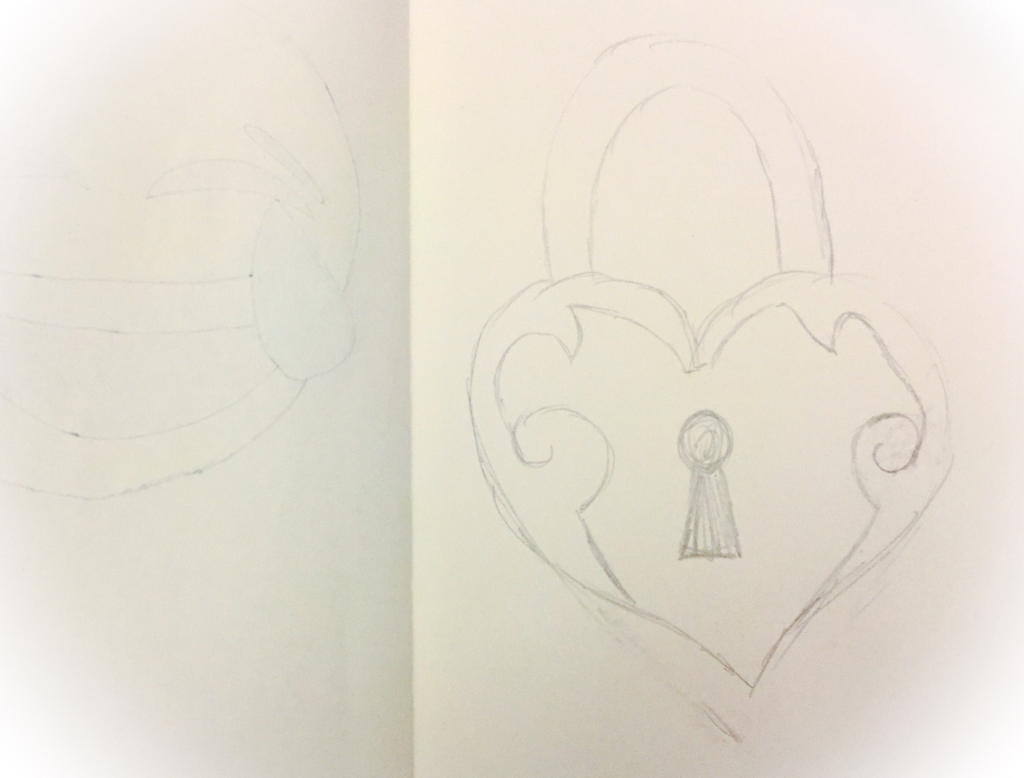 3. Now draw a small circle and a long triangle underneath the key hole. 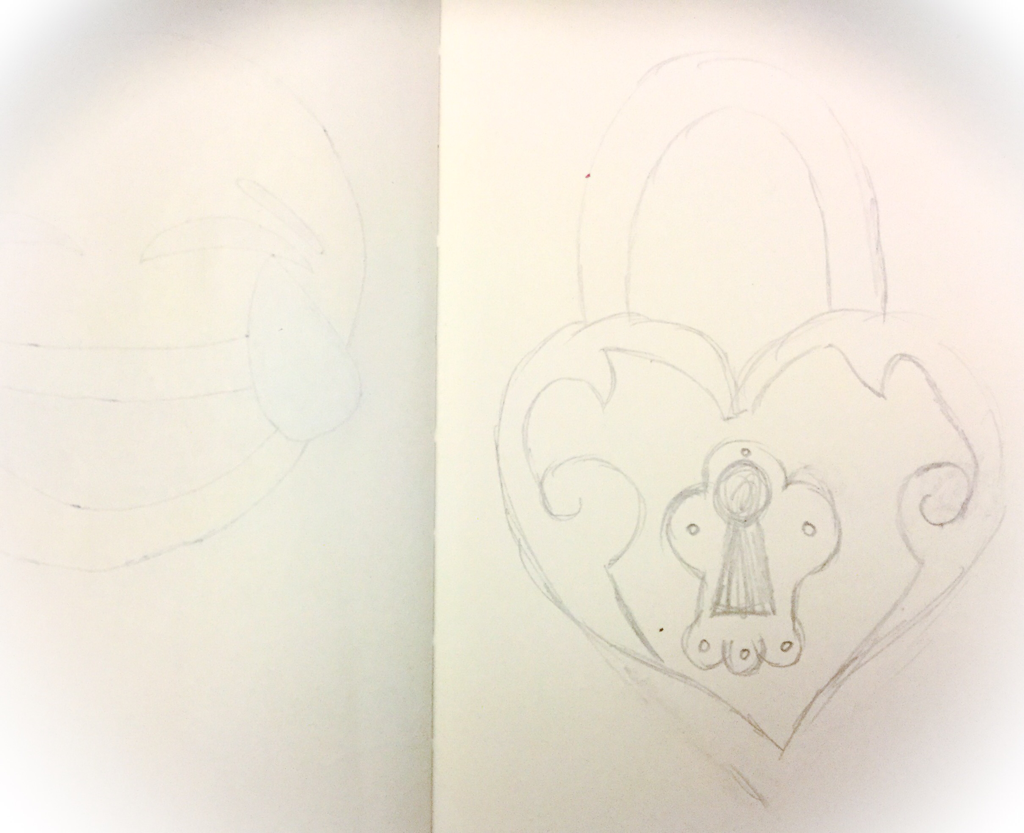 4. Now do some fancy circles around the key hole.  5. Then go over with fine liner. You can colour it in if you want.
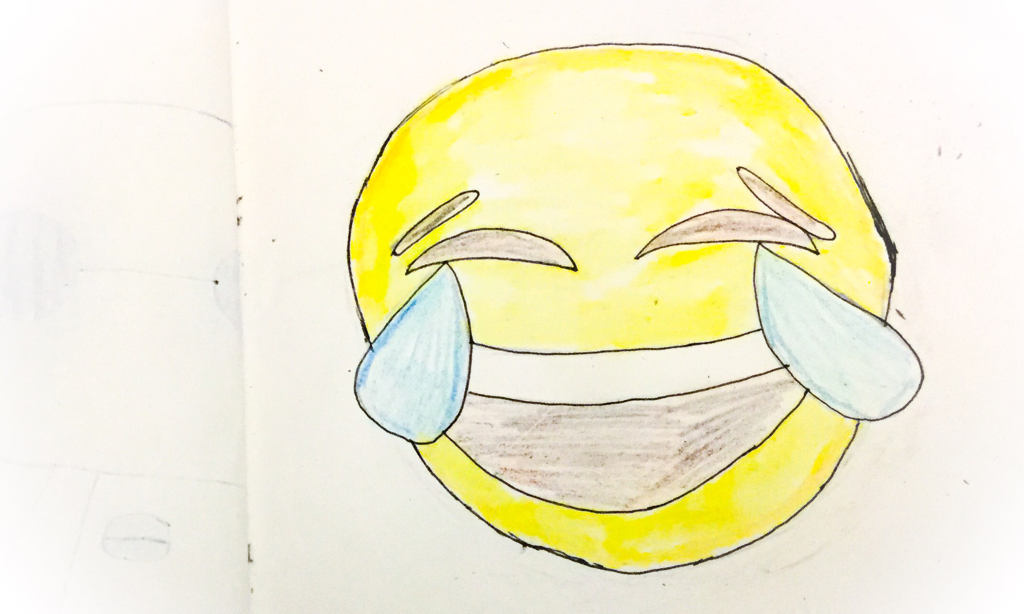 Hey today is the second day of the 2 week happiness challenge. This time I am dong a step by step how to draw a laughing emoji. 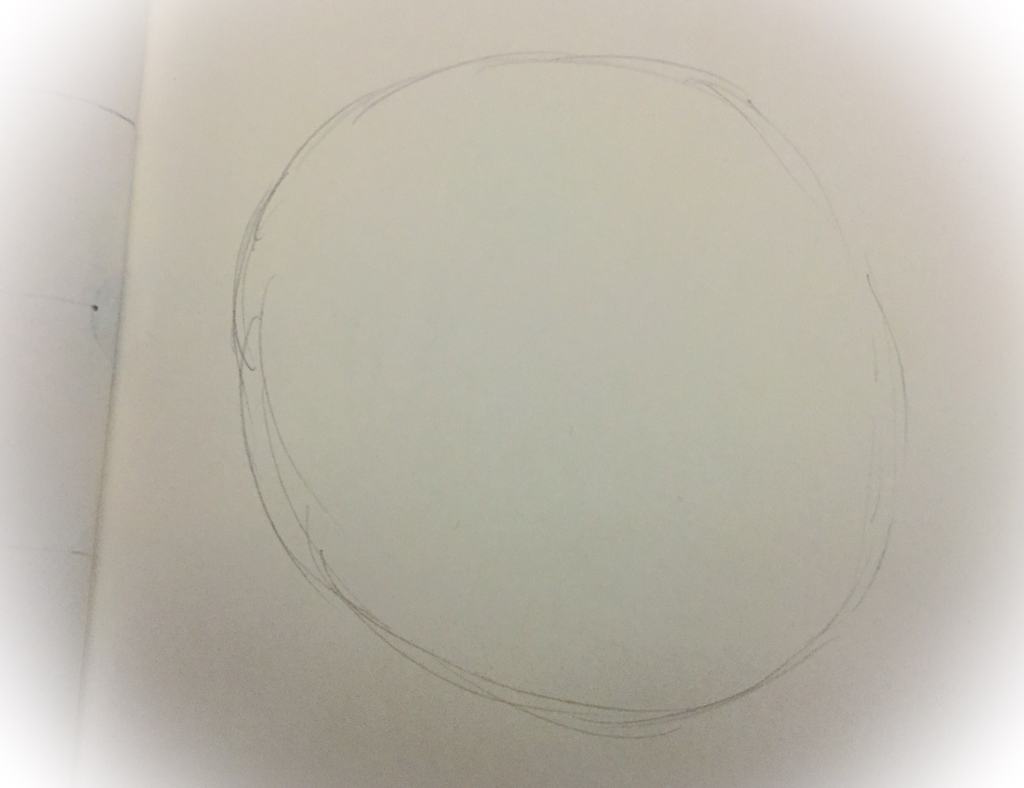 1. First draw a even circle. However the size you want it to be.  2. Now draw 2 curvey thick lines, like eyebrows. 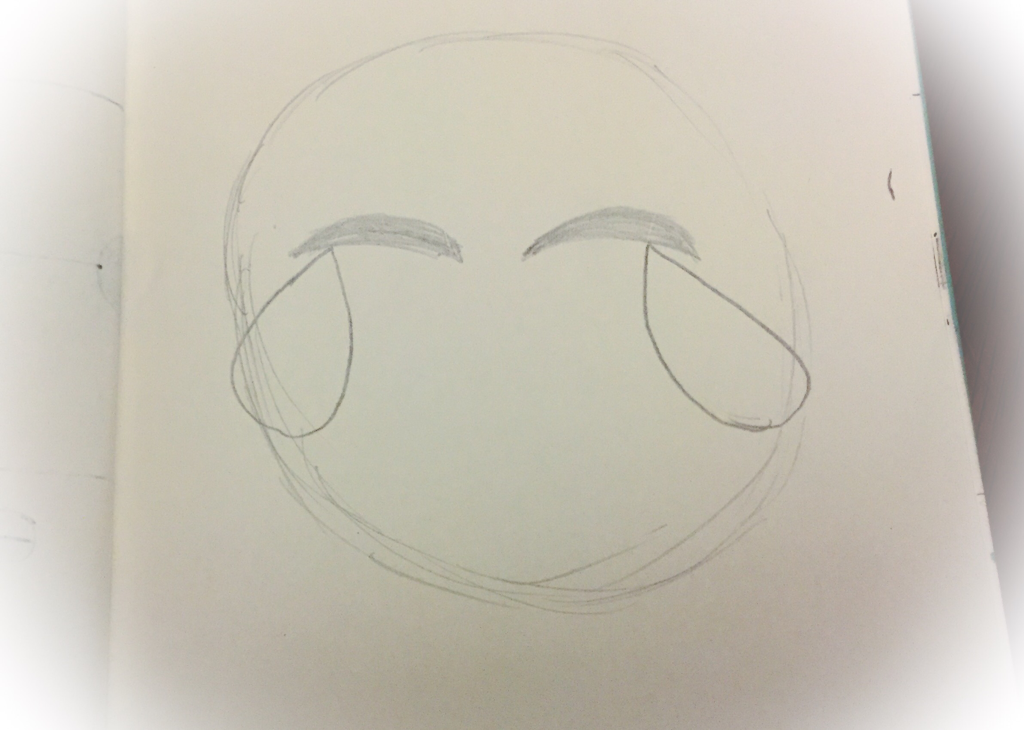 3. Now draw 2 tears on the sides of the eyes. 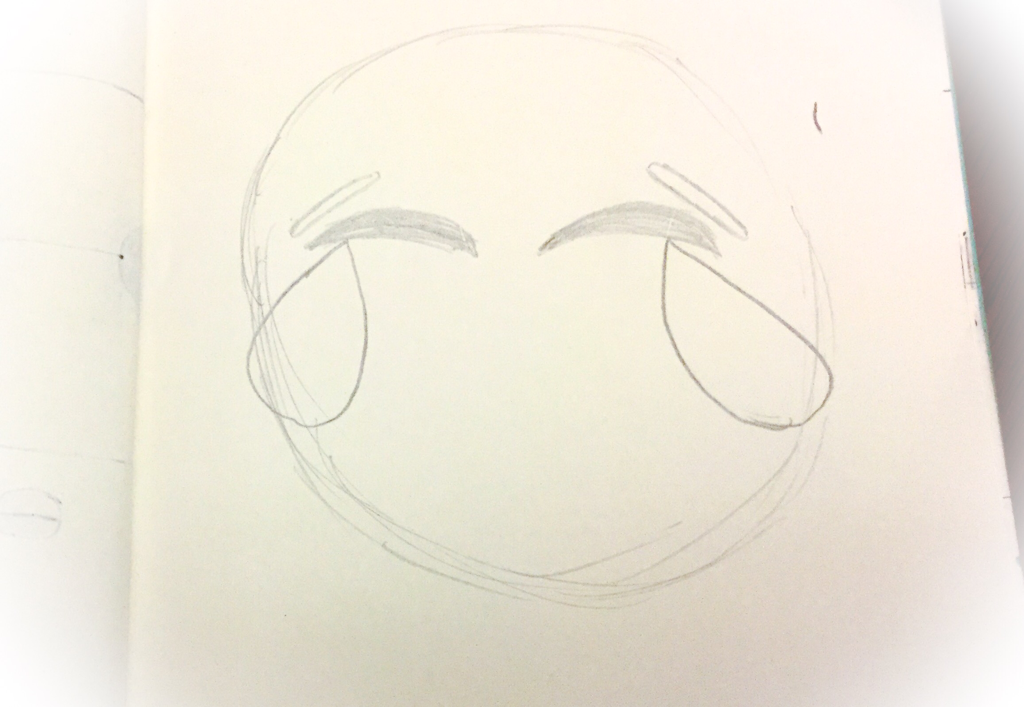 4. Now draw some thin ovals on the sides of the eyes. Don't colour in, these will be the eyebrows. 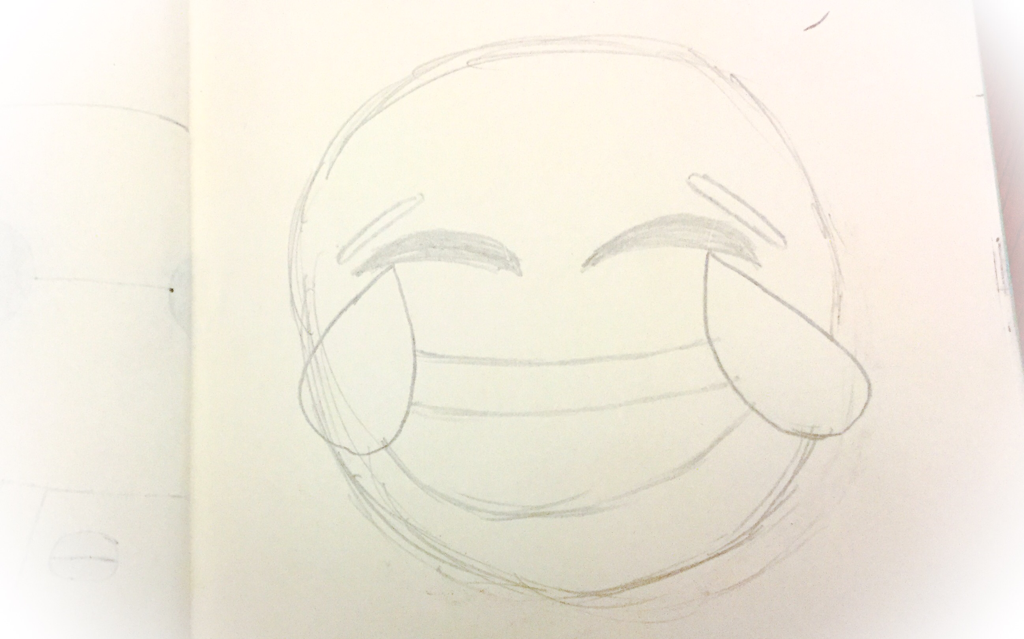 5. Now draw the smile. 2 lines connecting from tear to tear. Then a fatter line to finish the smile. 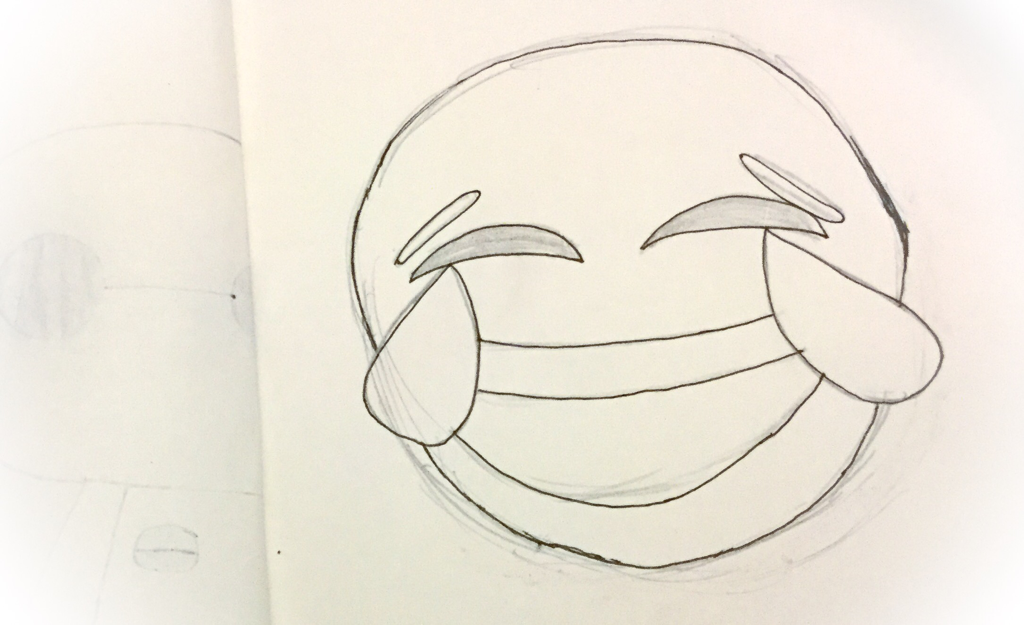 6. Then do a fine line and rub out the grey lead lines.  7. Now just colour it in. I used coloured pencils.
|
